Worksheet Basics
In the previous sections you learned about Samples and how to enter Results for the Analyses on a per-Sample basis. This approach might get quickly tedious and error prone for Analysts who are just measuring one specific Analysis on their instrument and need to enter the results in the right samples.
This is where Worksheets come in and simplify the results capturing for Analysts to handle Analyses of the same type together in a spreadsheet-like listing.
Creating Worksheets
Navigate in the menu to Worksheets to see all open Worksheets in SENAITE.
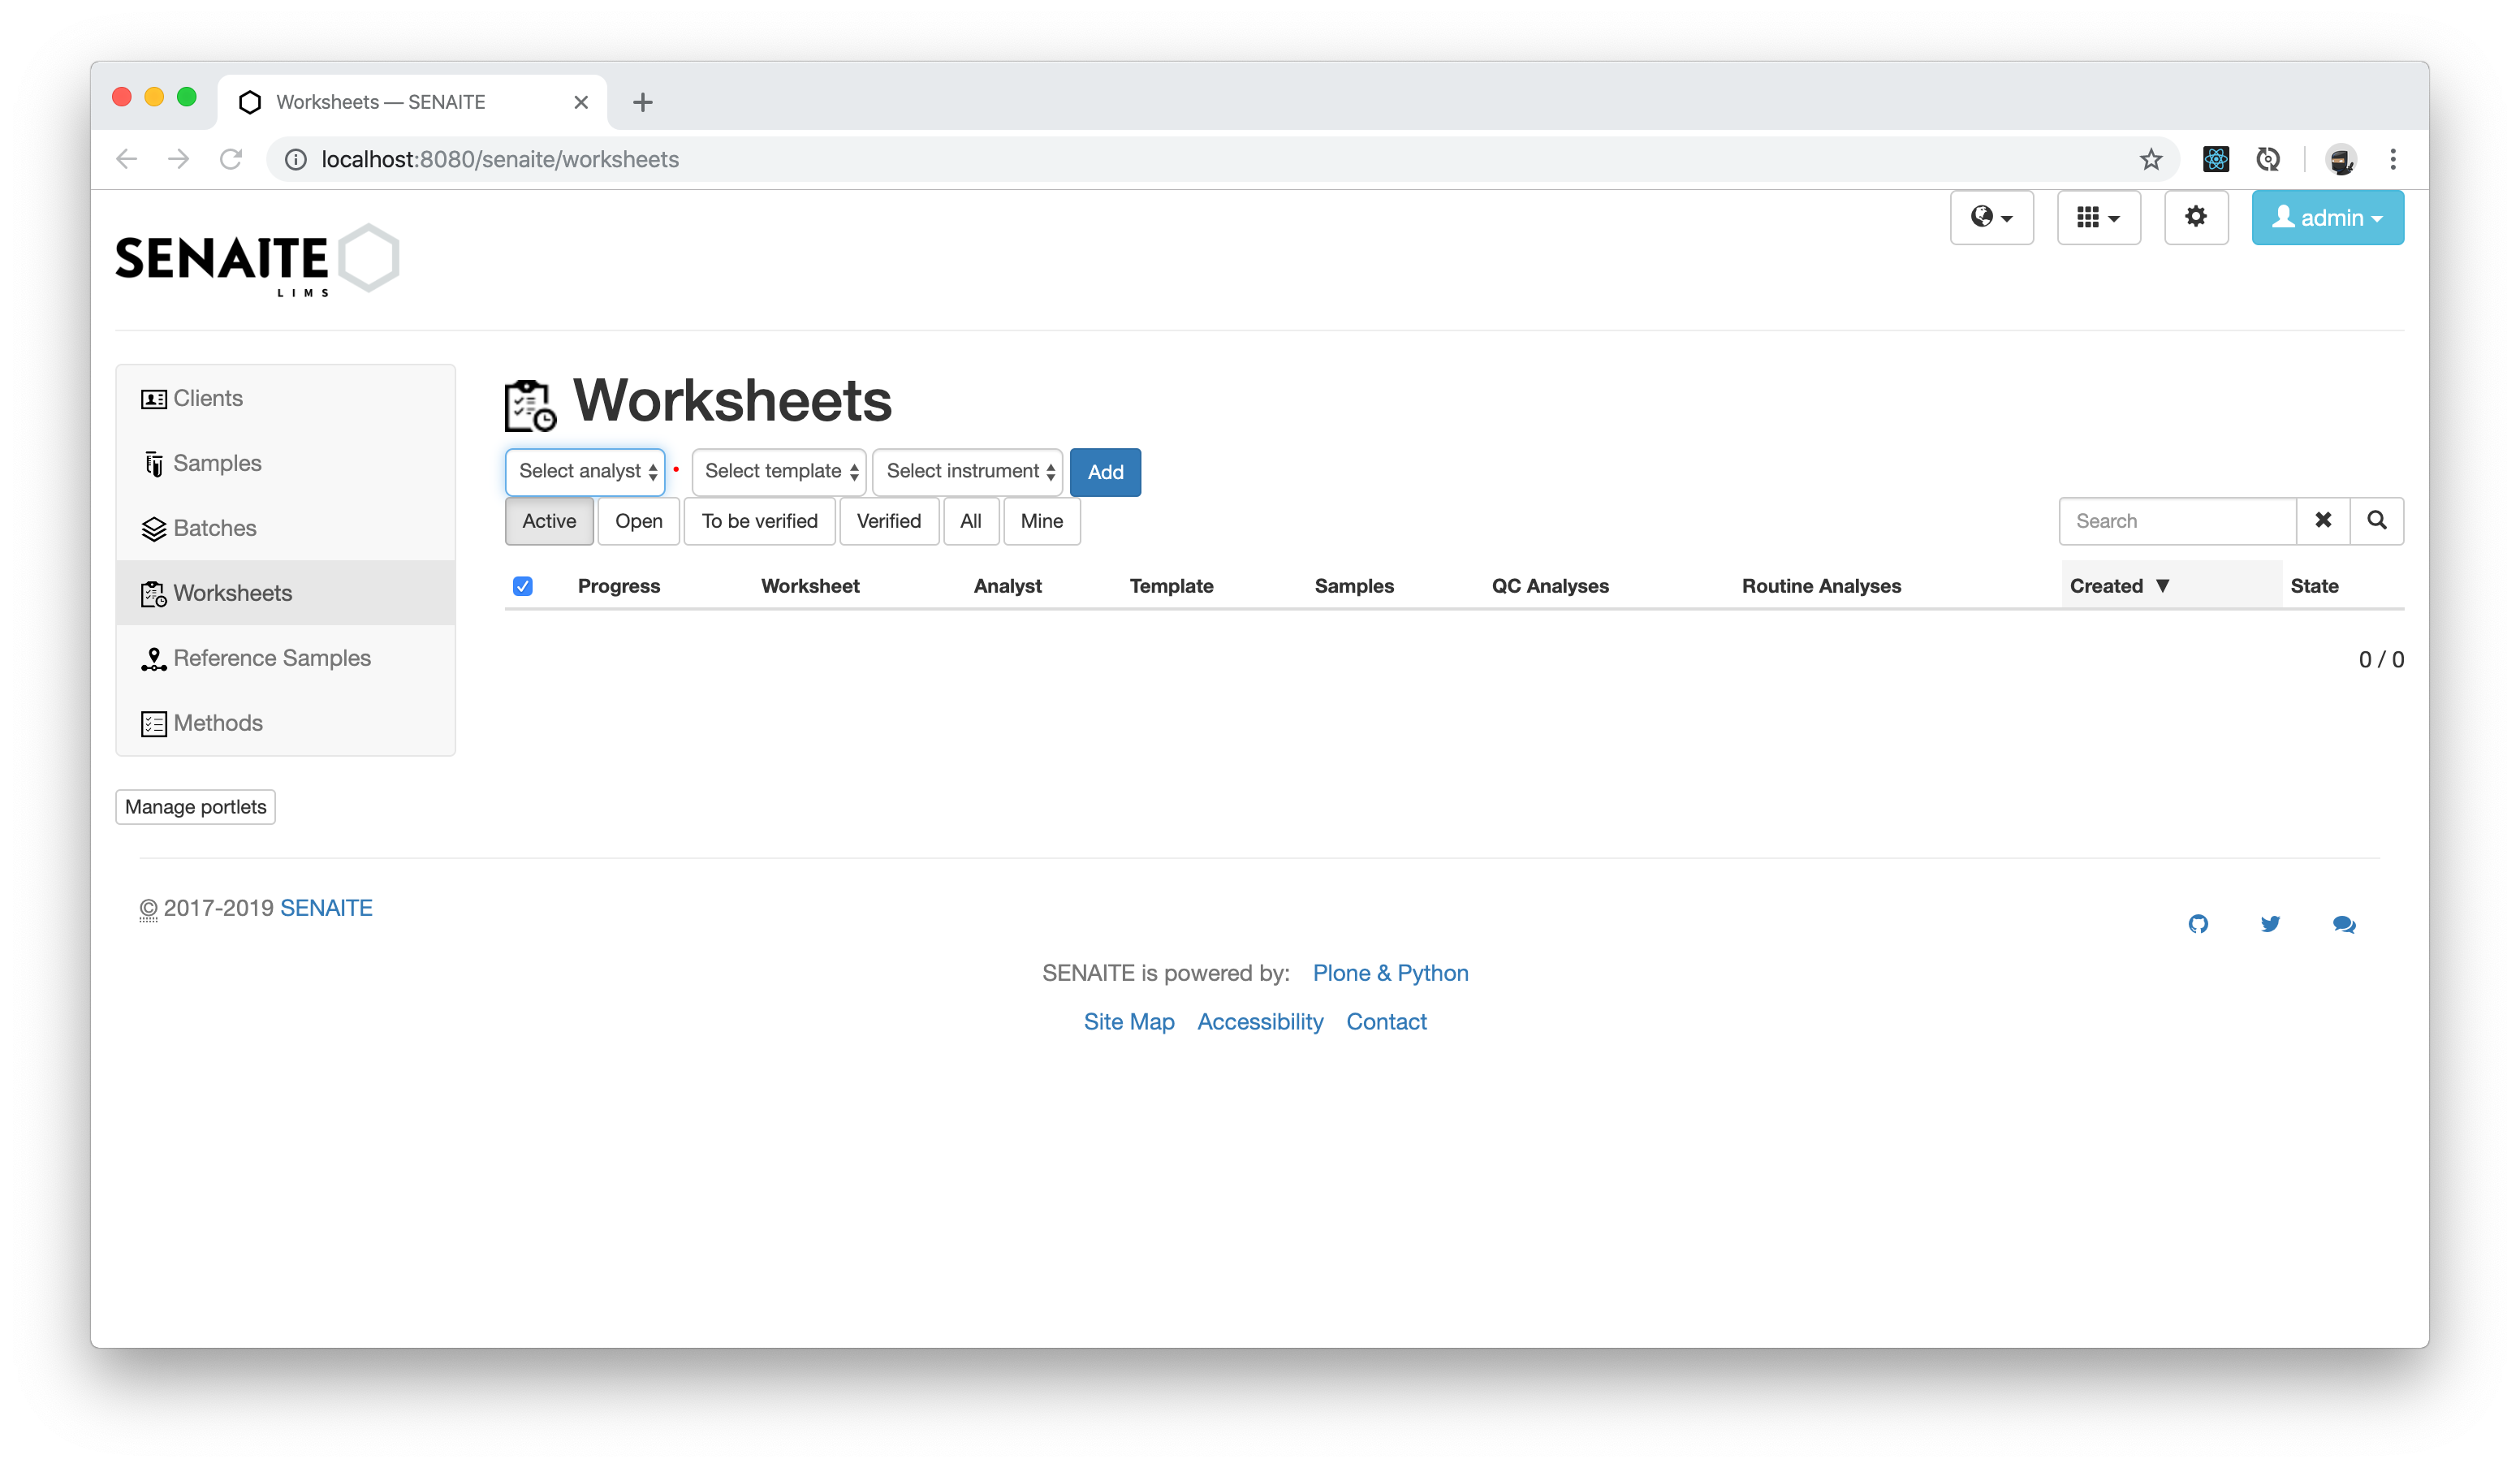
Currently we have no Worksheets in our system. However, we cannot create Worksheets without an Analyst assigned. Since we did not create any Analysts yet, we need to do that first.
Creating an Analyst
Navigate to the LIMS Setup by clicking the ⚙️ button in the upper right corner and then on the Lab Contacts tile. Click on the ⊕ Add Button to create a new Lab Contact.
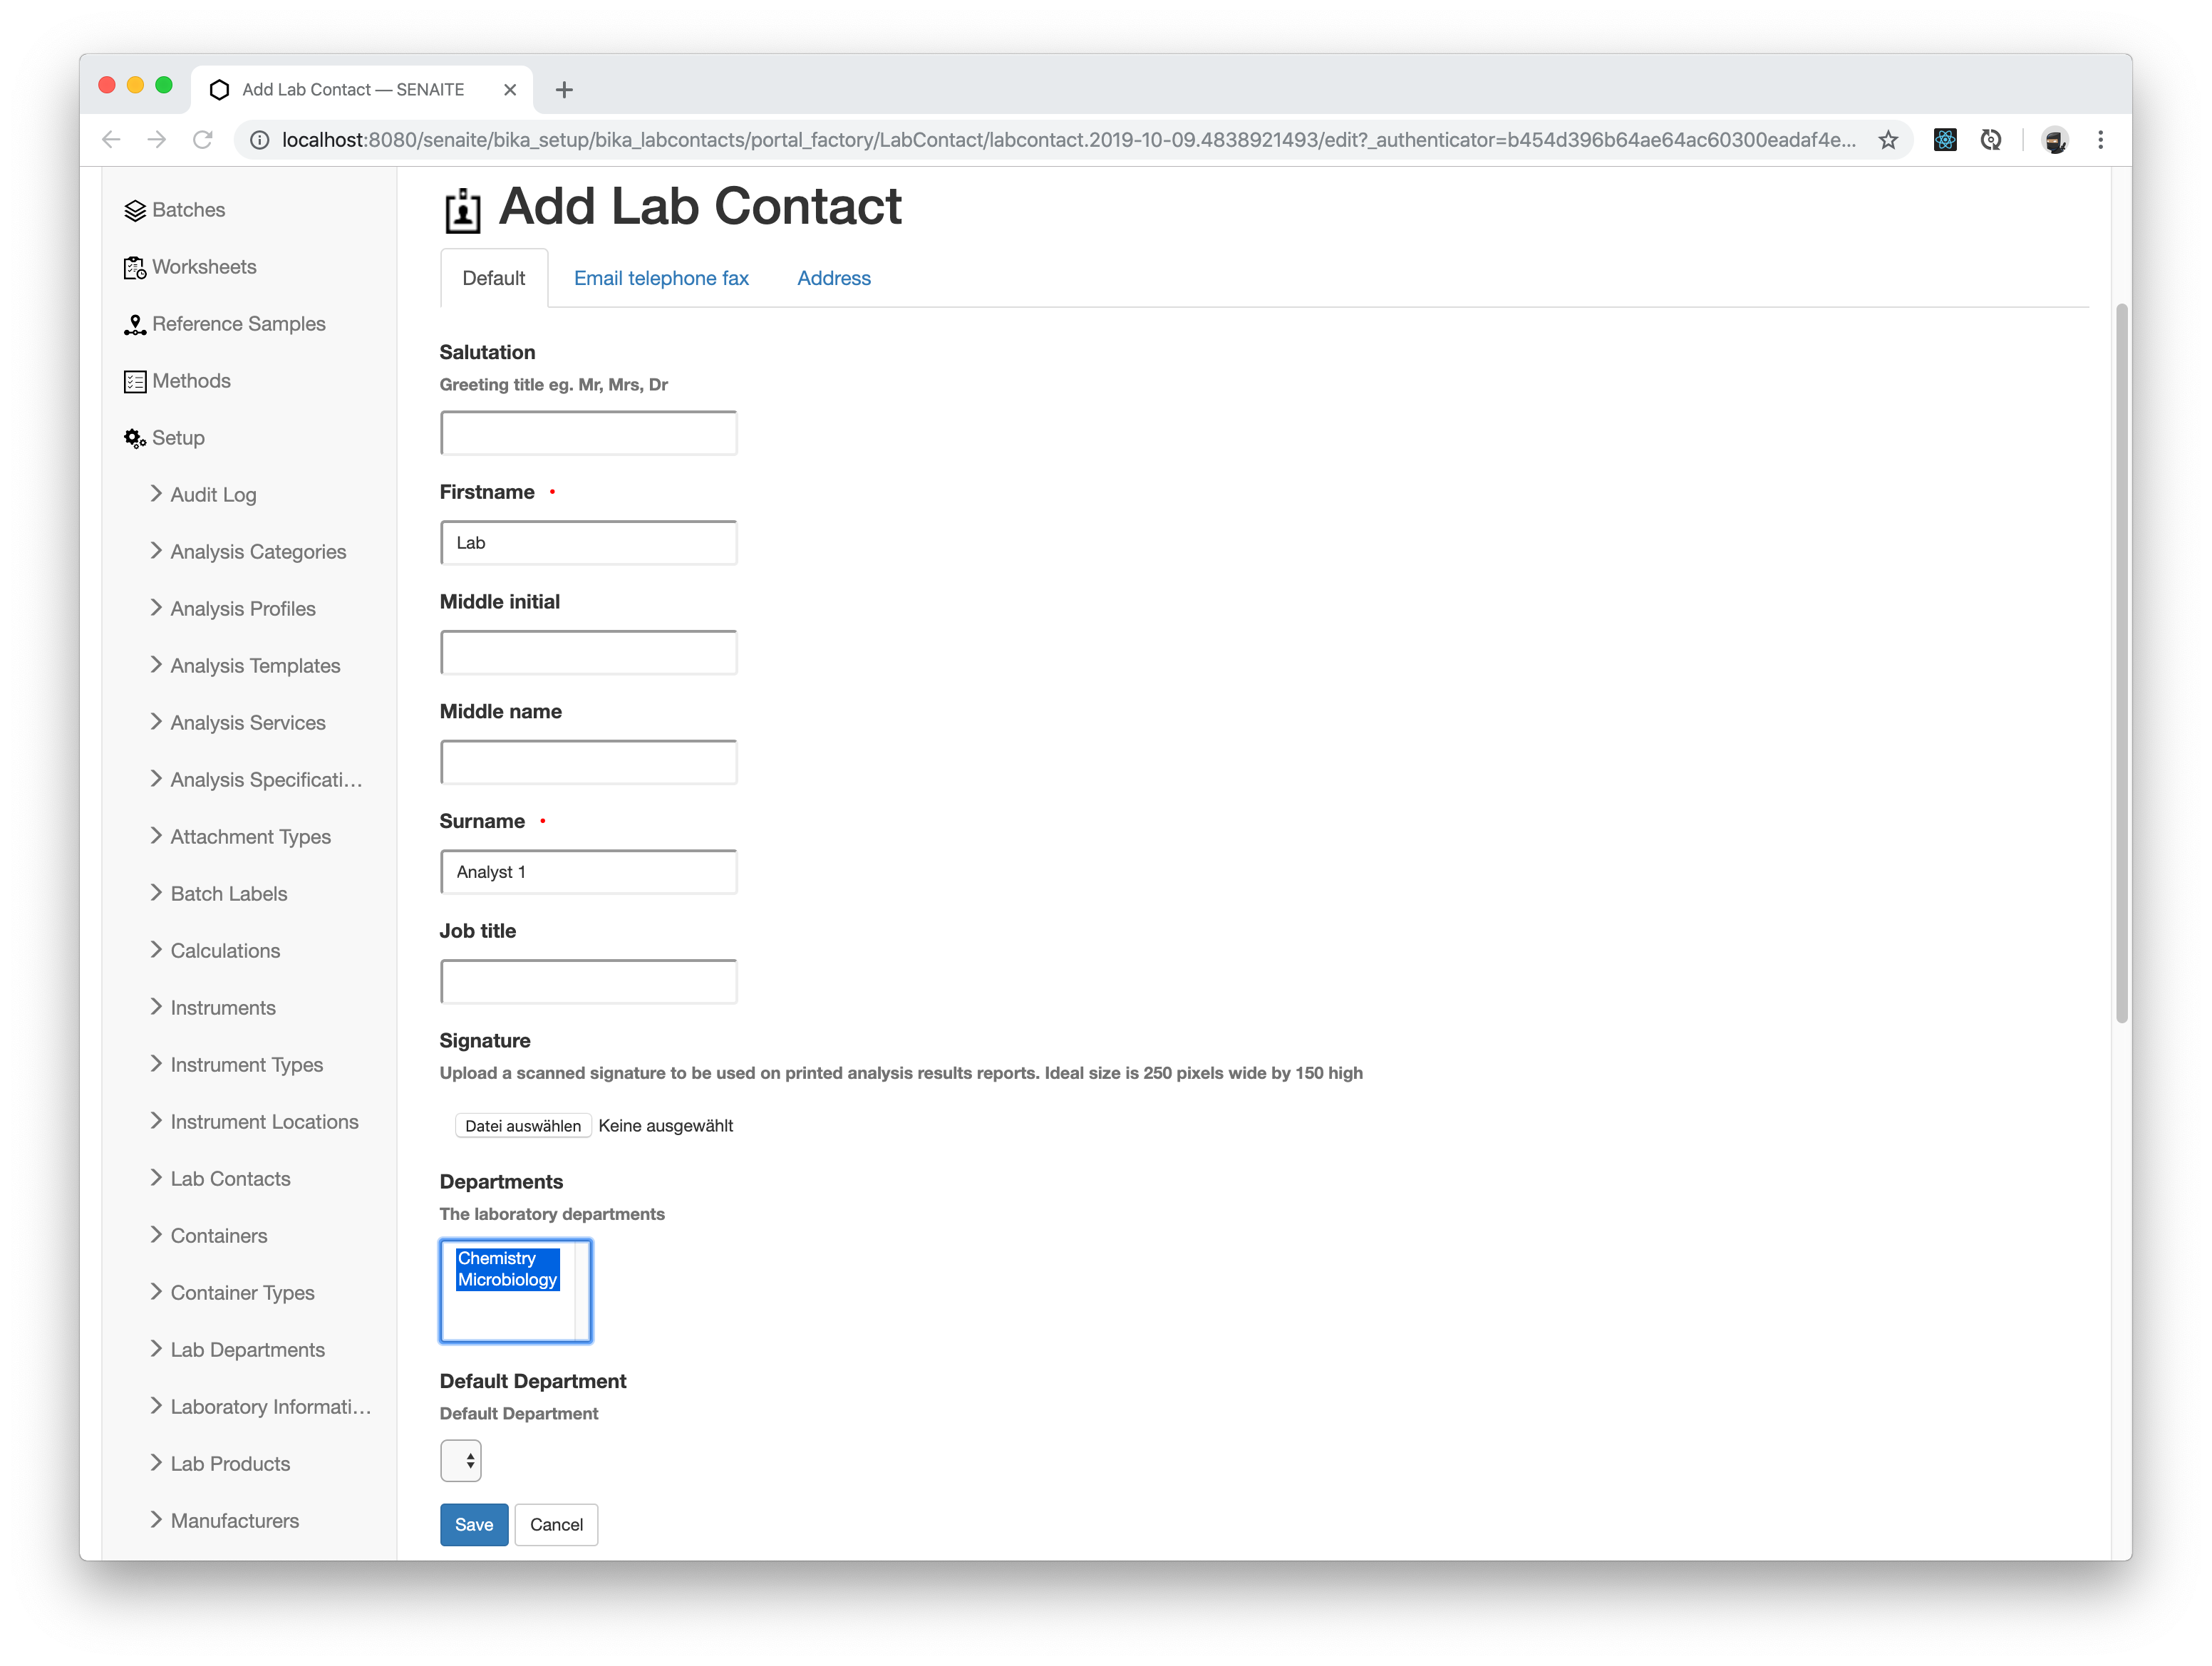
Enter the following values in the add form:
- Firstname:
Lab - Lastname:
Analyst 1 - Departments: Select all departments
- Email Address:
analyst1@example.com
Click the Save button when you are done.
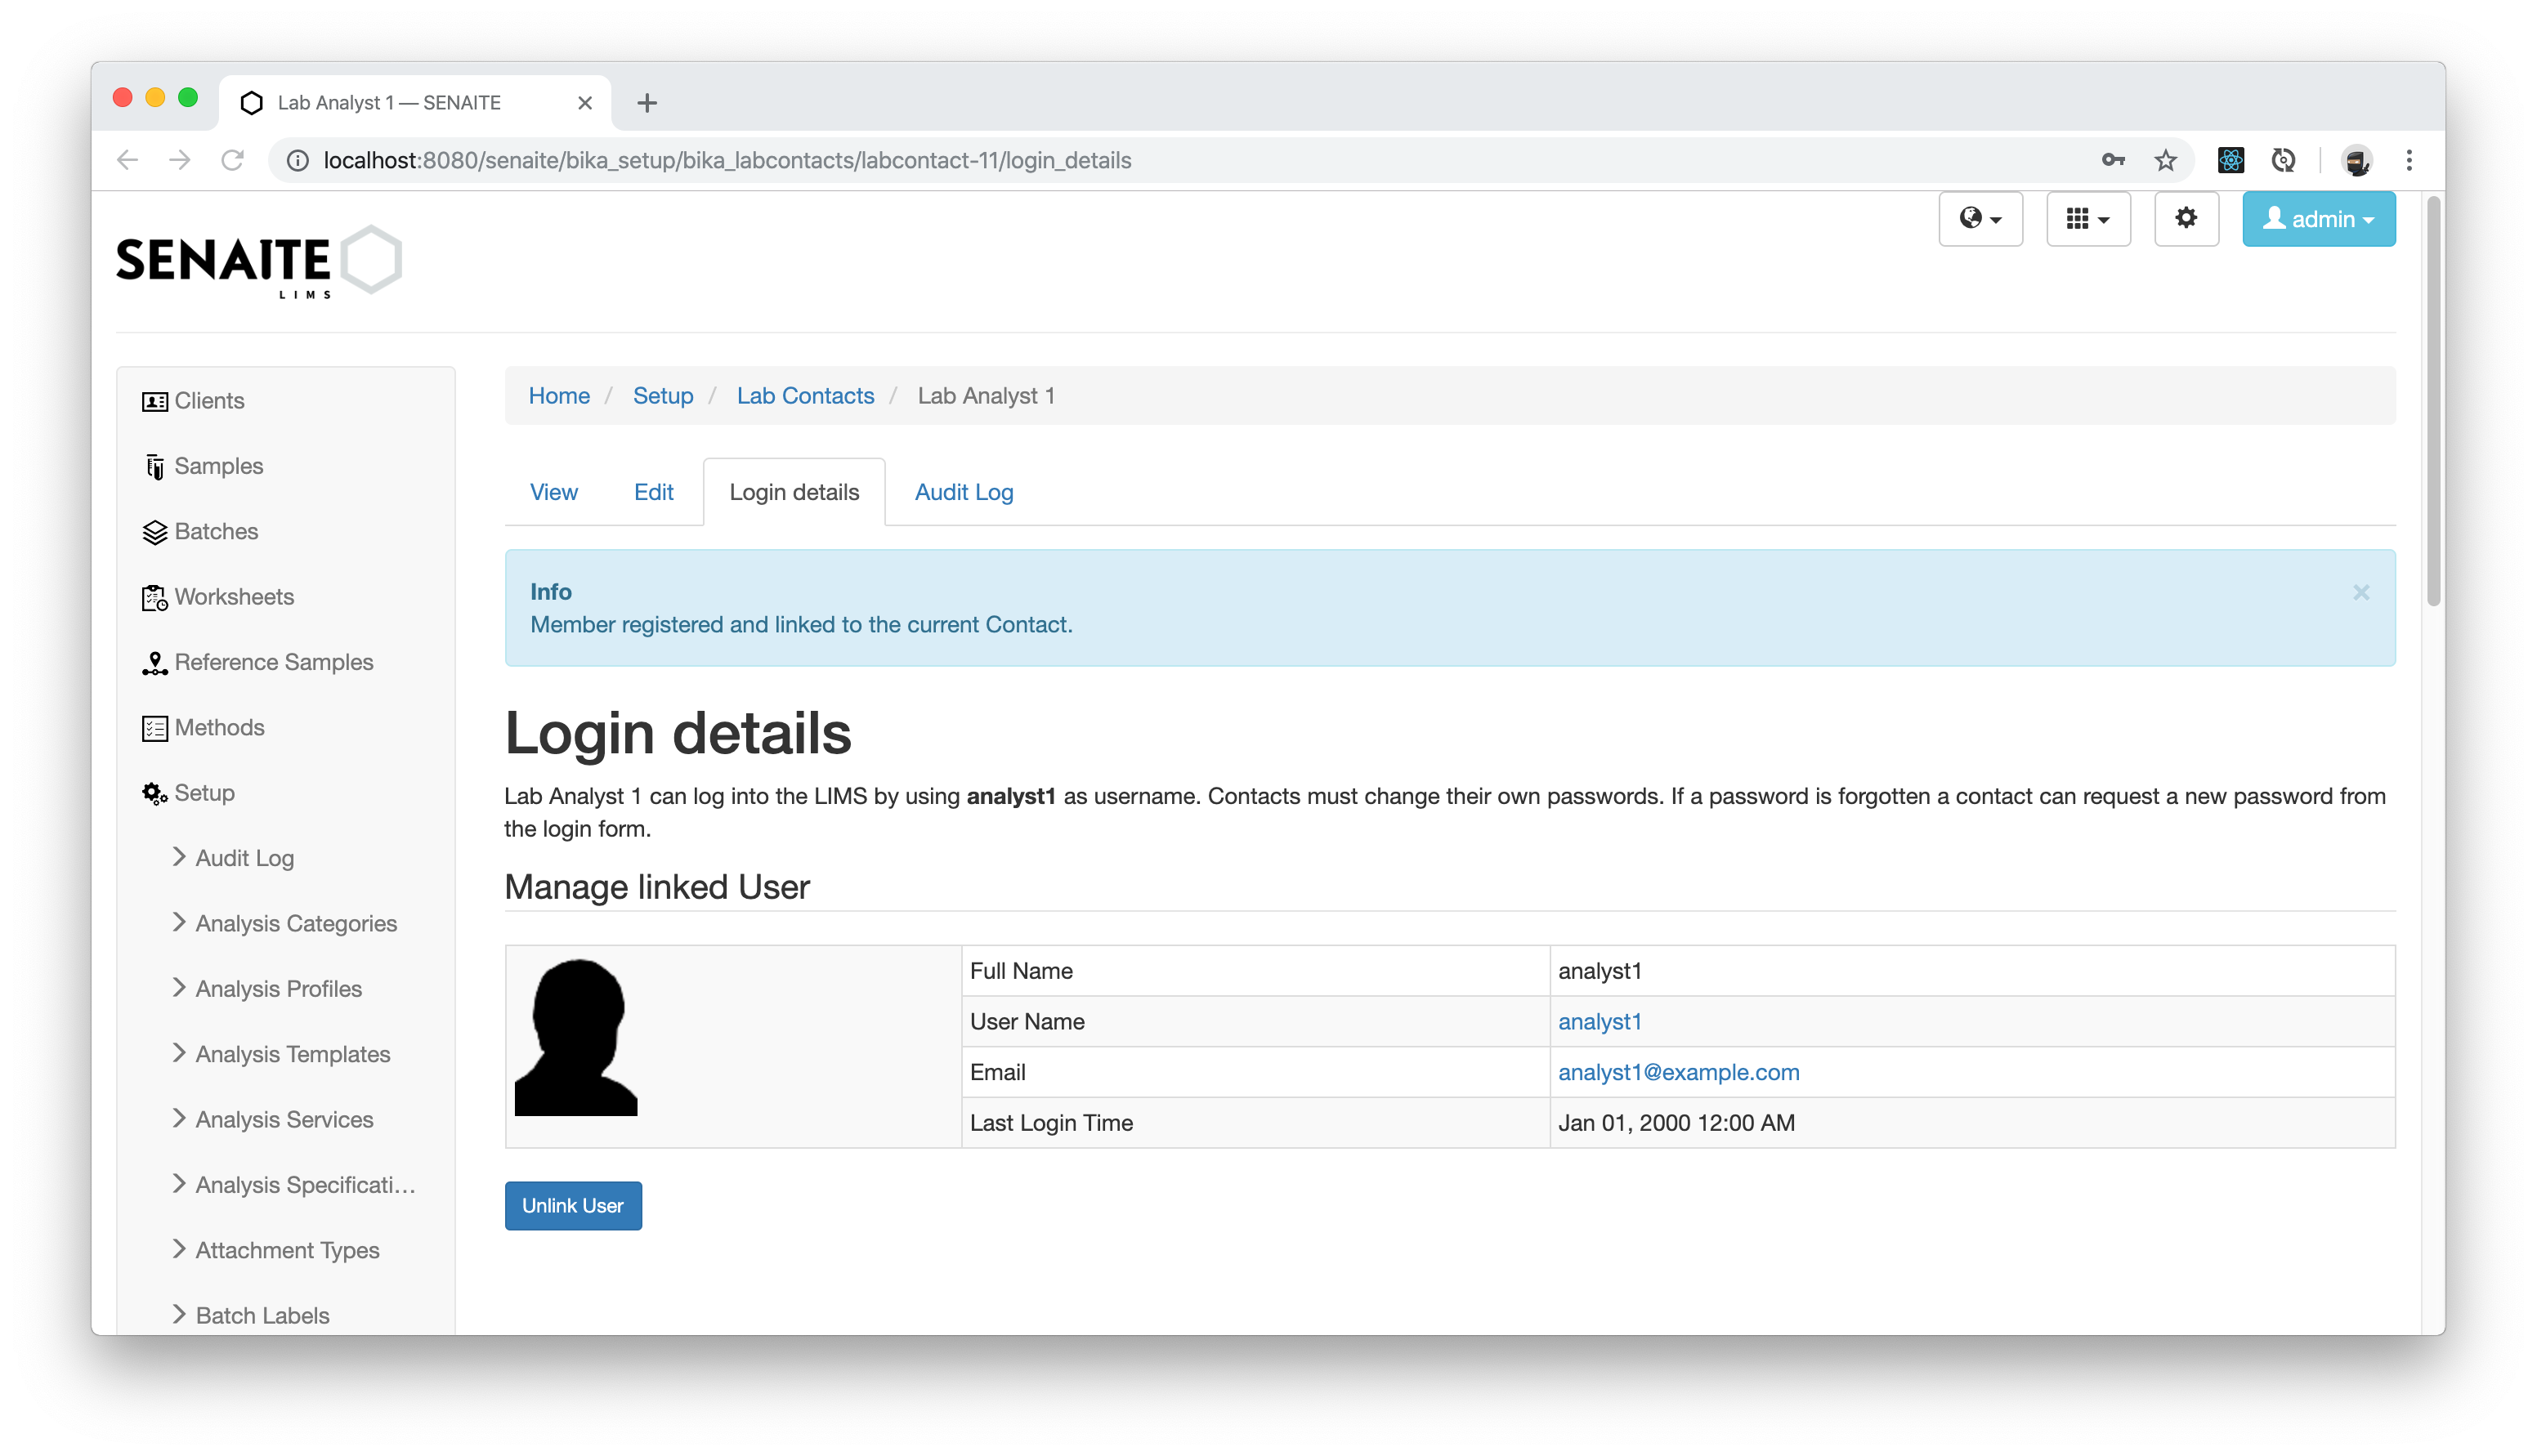
Now click on the Login Detail tab and create a new user with the following details:
- User Name:
analyst1 - Password:
analyst1 - Email:
analyst1@example.com - Group: Select the
Analystsgroup
Click the Save button when you are done.
The lab contact is now linked to a user with the Analyst role granted.
Navigate now back to the Worksheets listing.
Adding a Worksheet
Select the previously created Analyst analyst1 from the drop-down menu and
click the Add button to create a new worksheet.
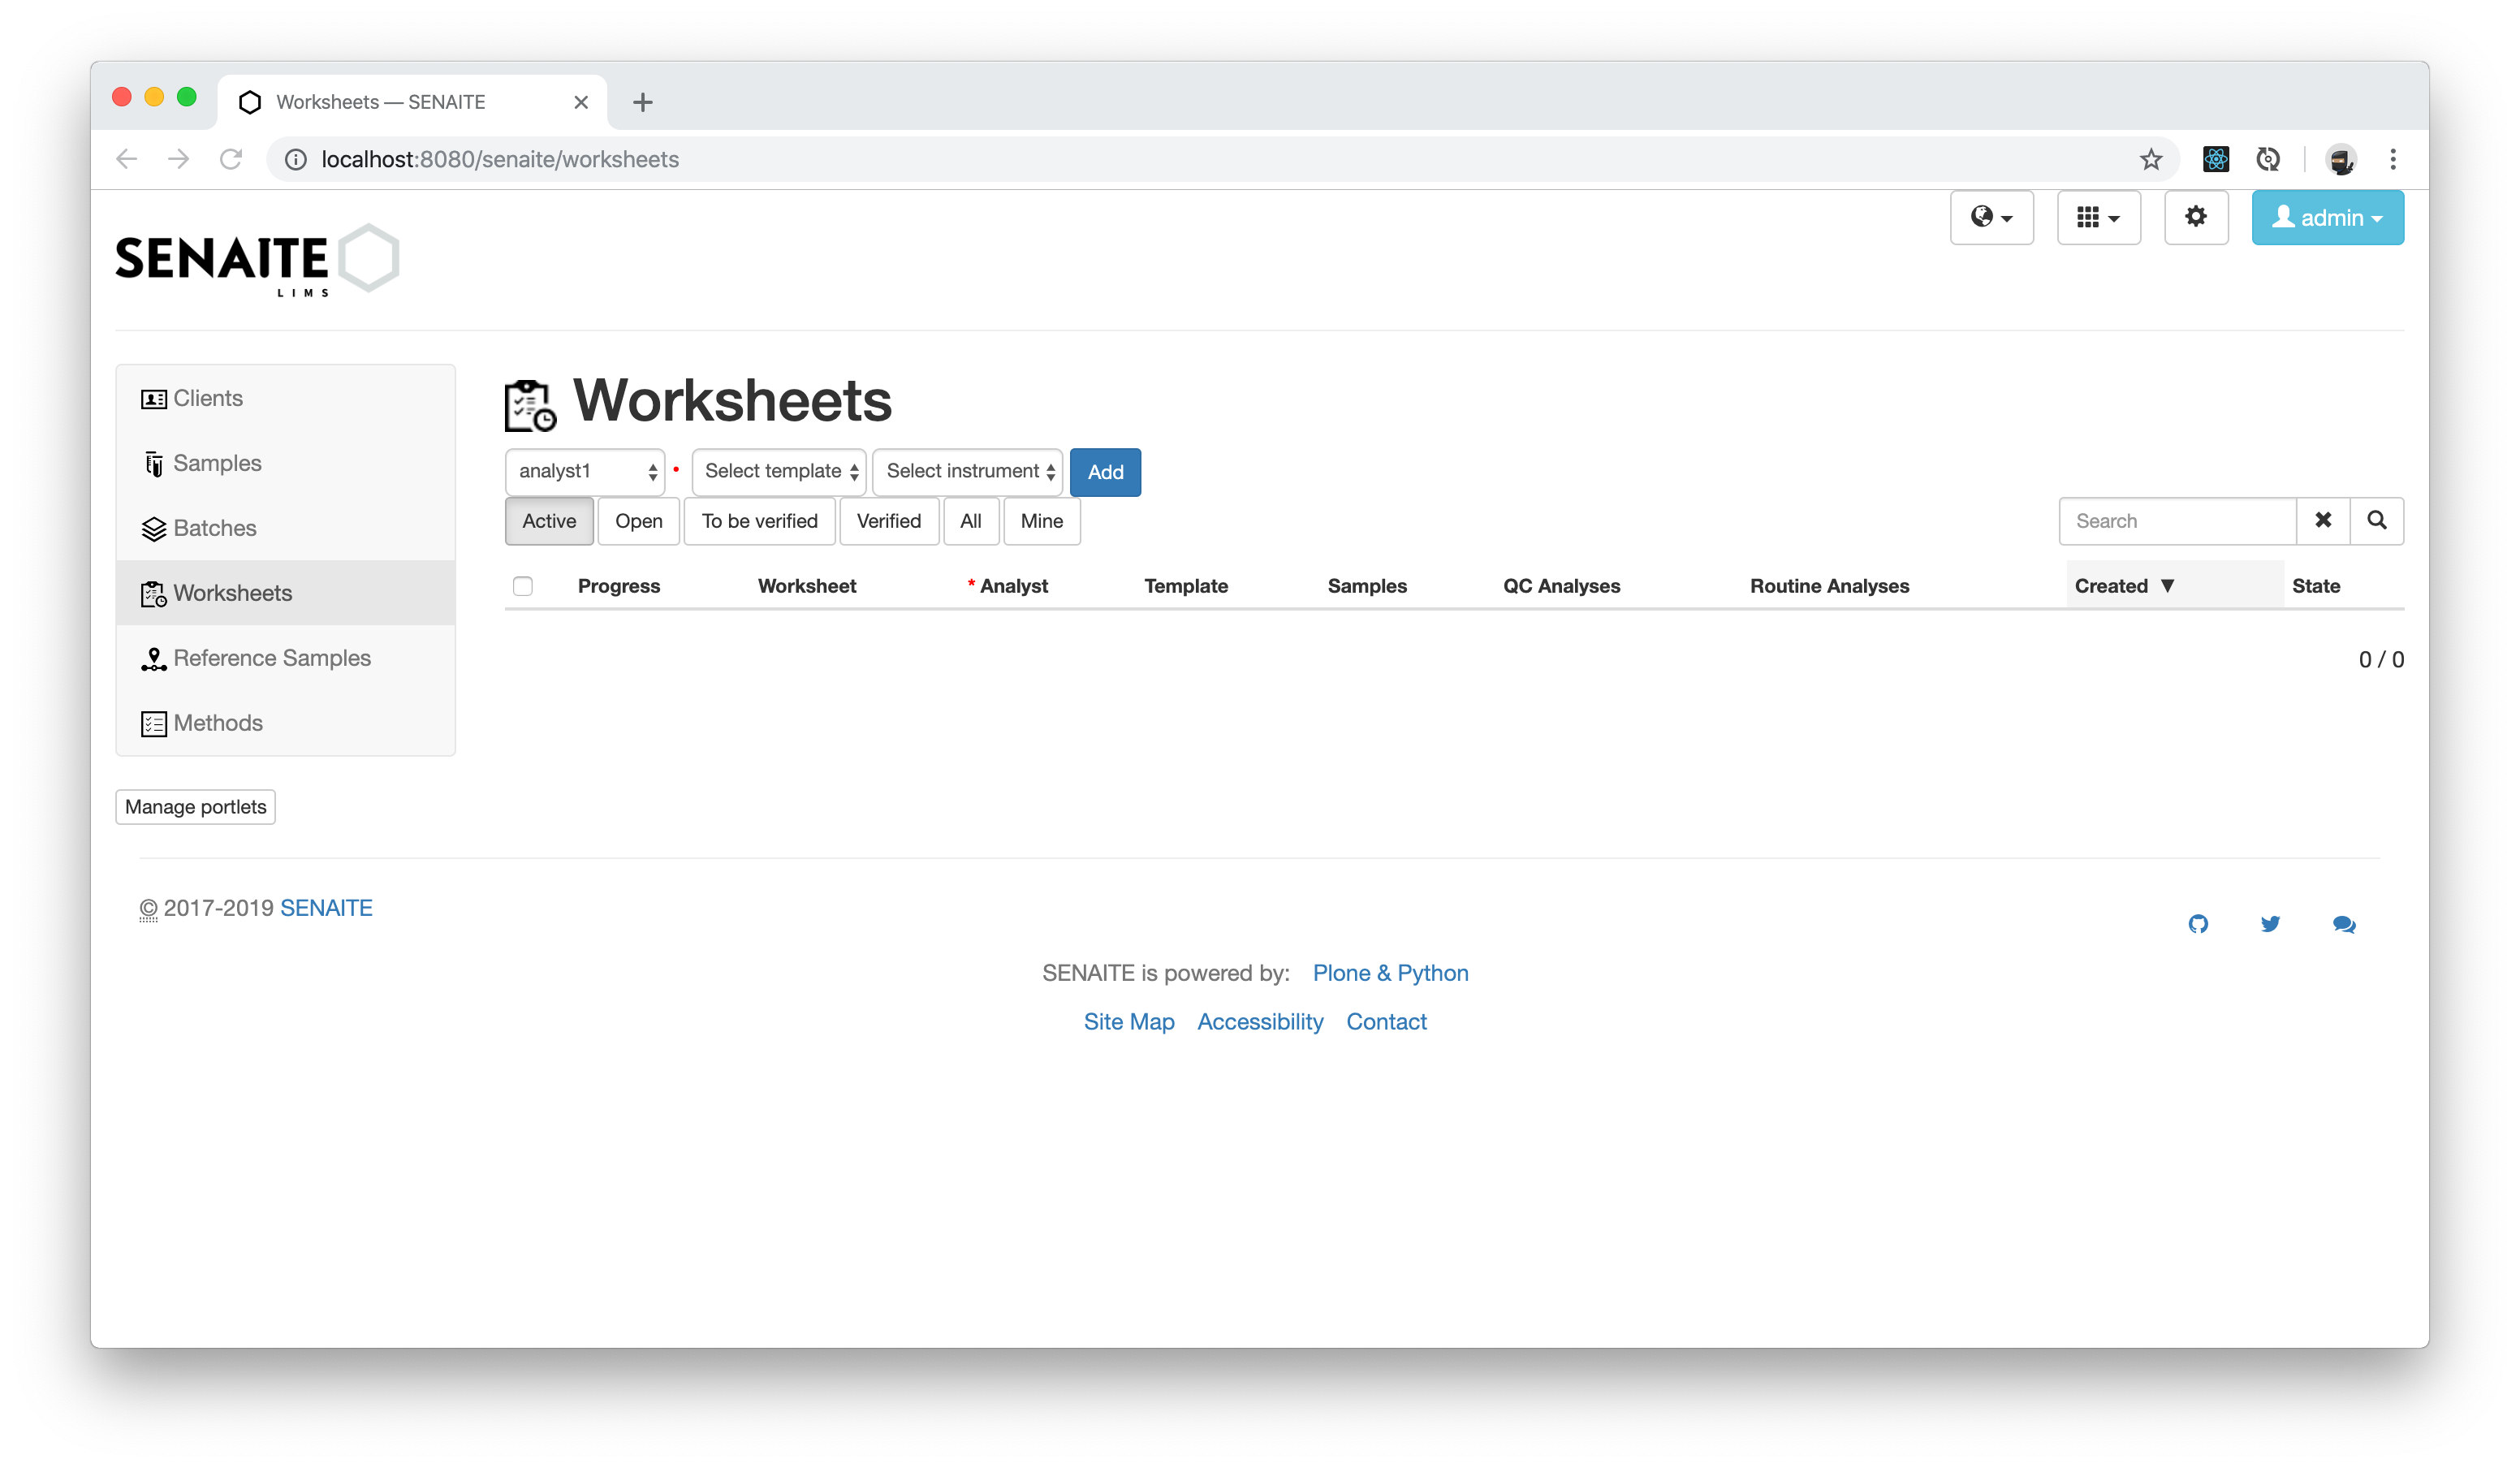
☝️Note:
When you do not see the previously created analyst1 user, this is because
SENAITE caches the users list internally for one hour. You can either wait or
restart your instance to flush the cache immediately.
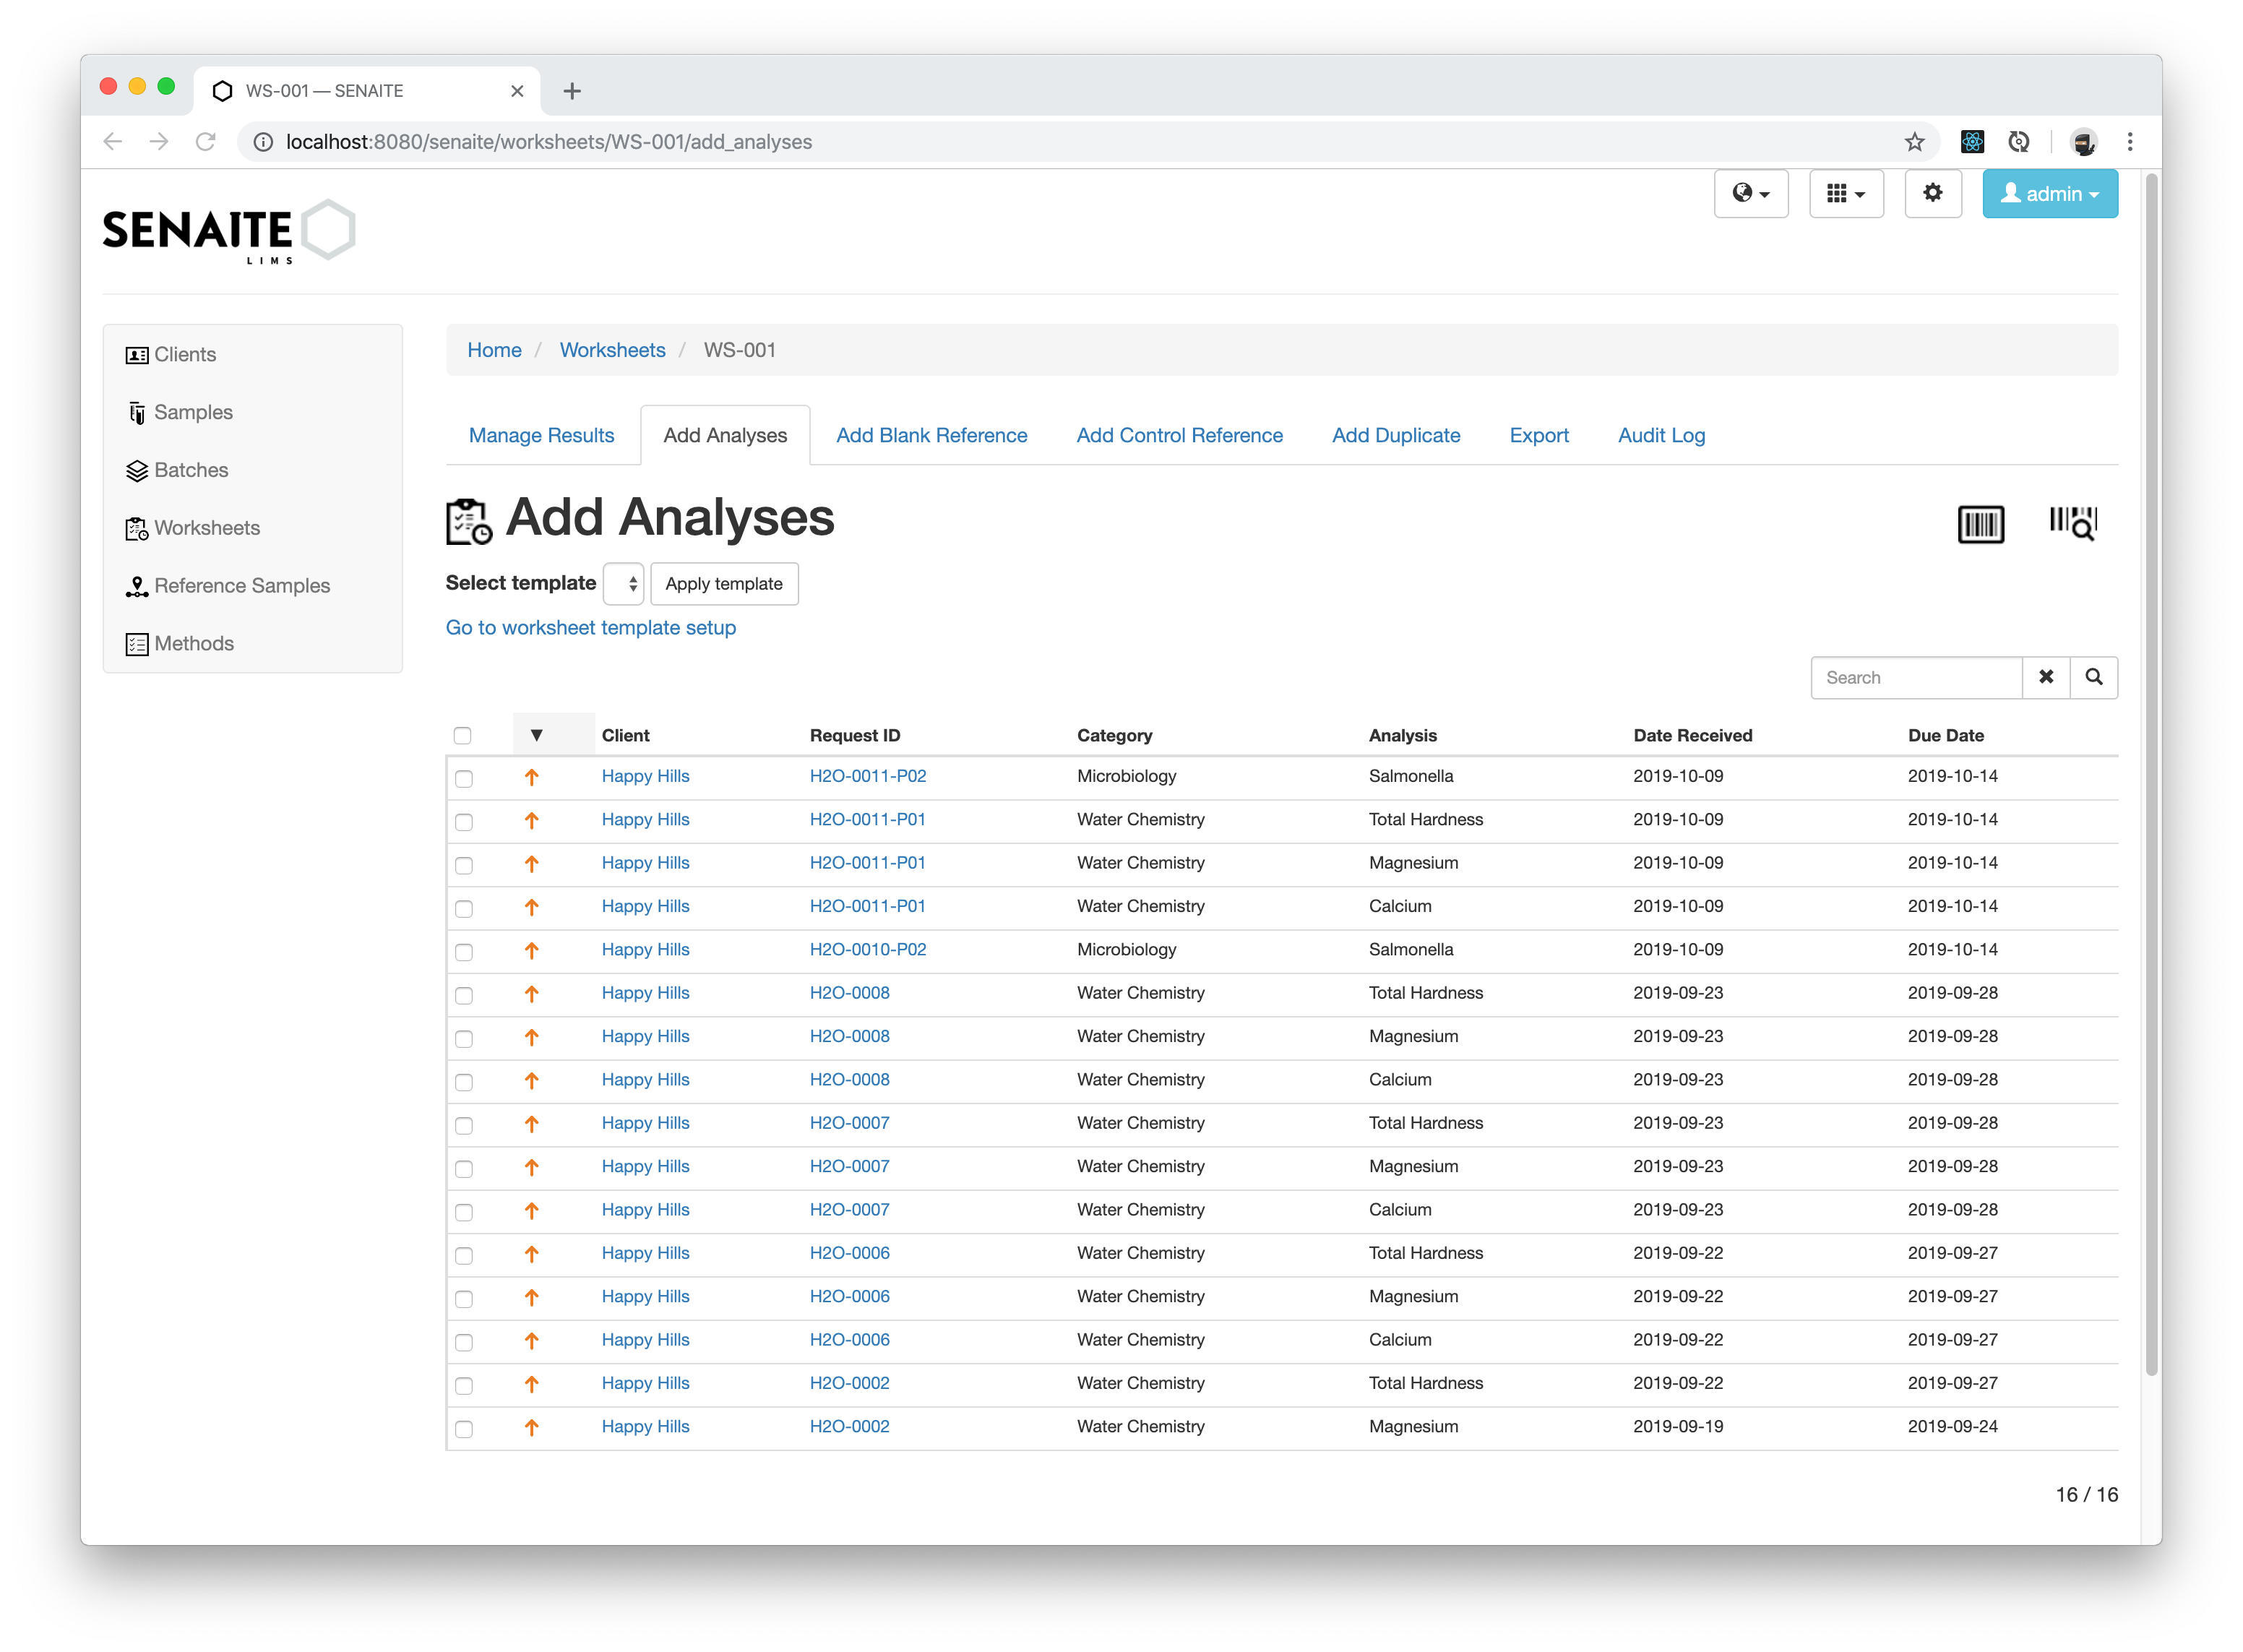
After the Worksheet was created, all open and unassigned Analyses are listed. This means that only Analyses are shown, which have not been added yet in another Worksheet or are already submitted for verification (or in a later state).
Let's assume that we want our Analyst to enter results for Salmonella test.
Search for the Term Salmonella and press enter.
🤓 Pro-Tip: Use the filter functionality in listings in combination with the column sorting by clicking on the column you want to sort. This makes it easier to select the right Analyses in the listing.
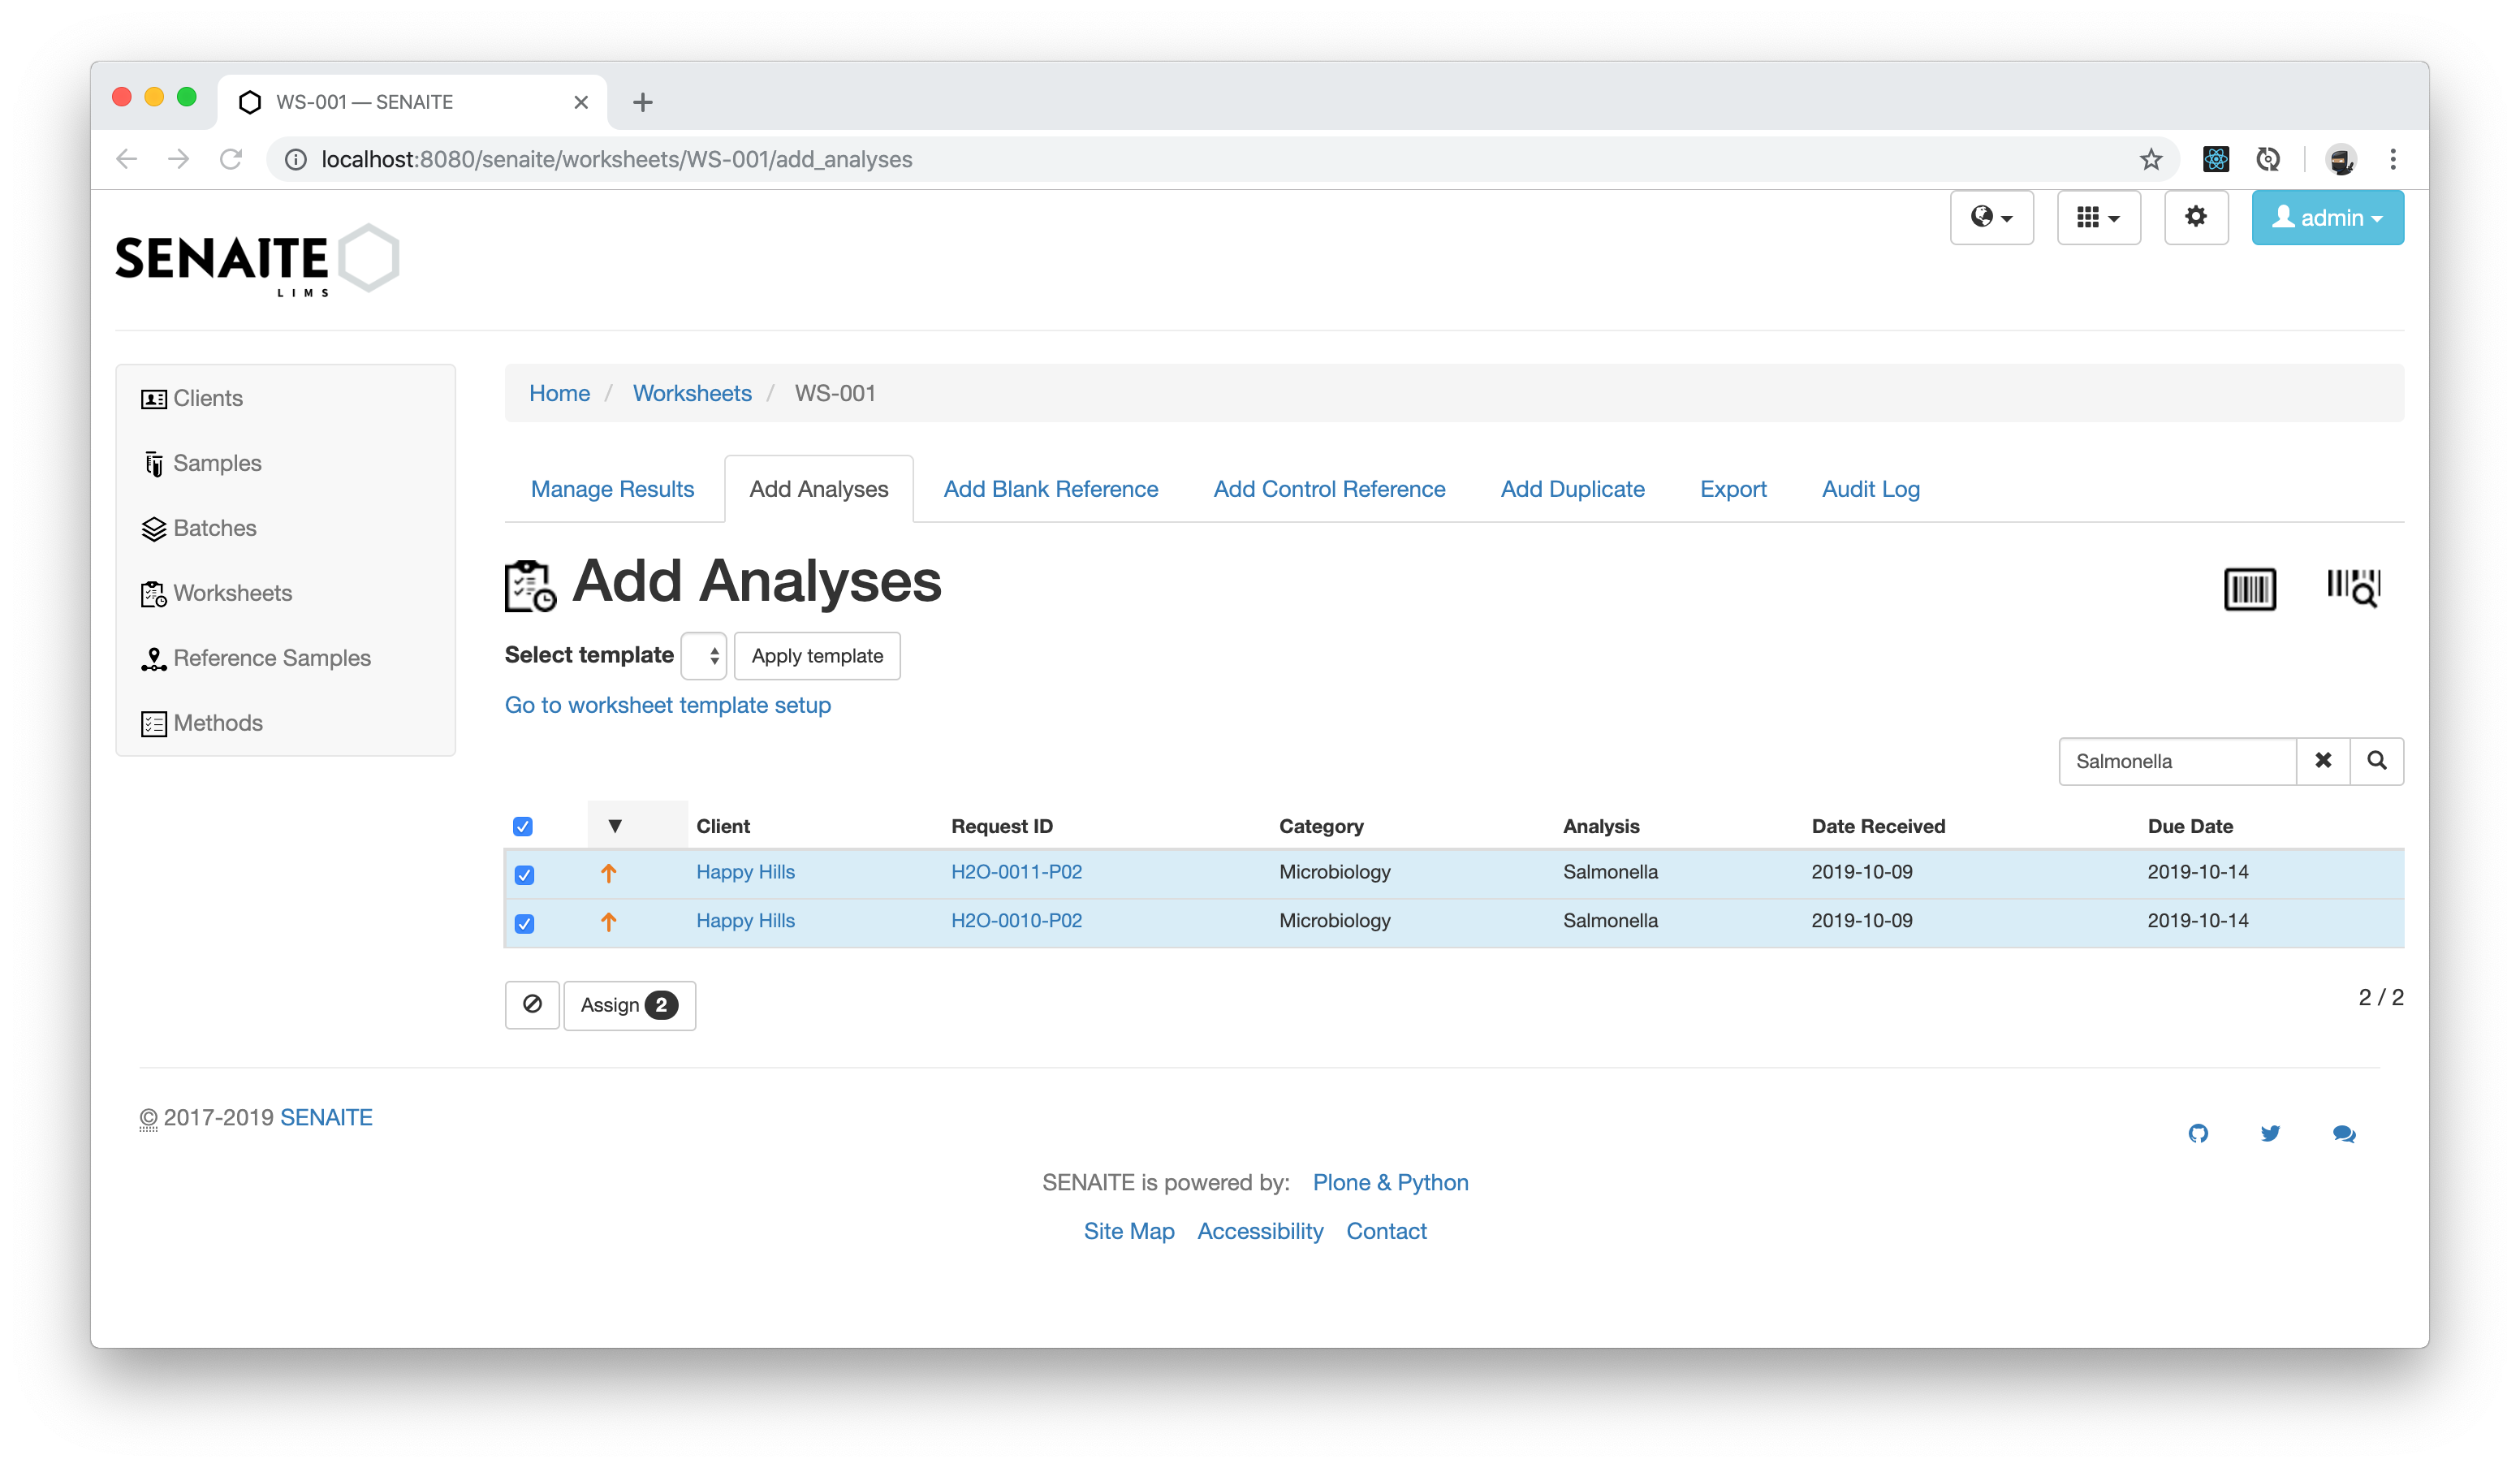
In the filtered list, select all Salmonella Analyses and press the Assign button.
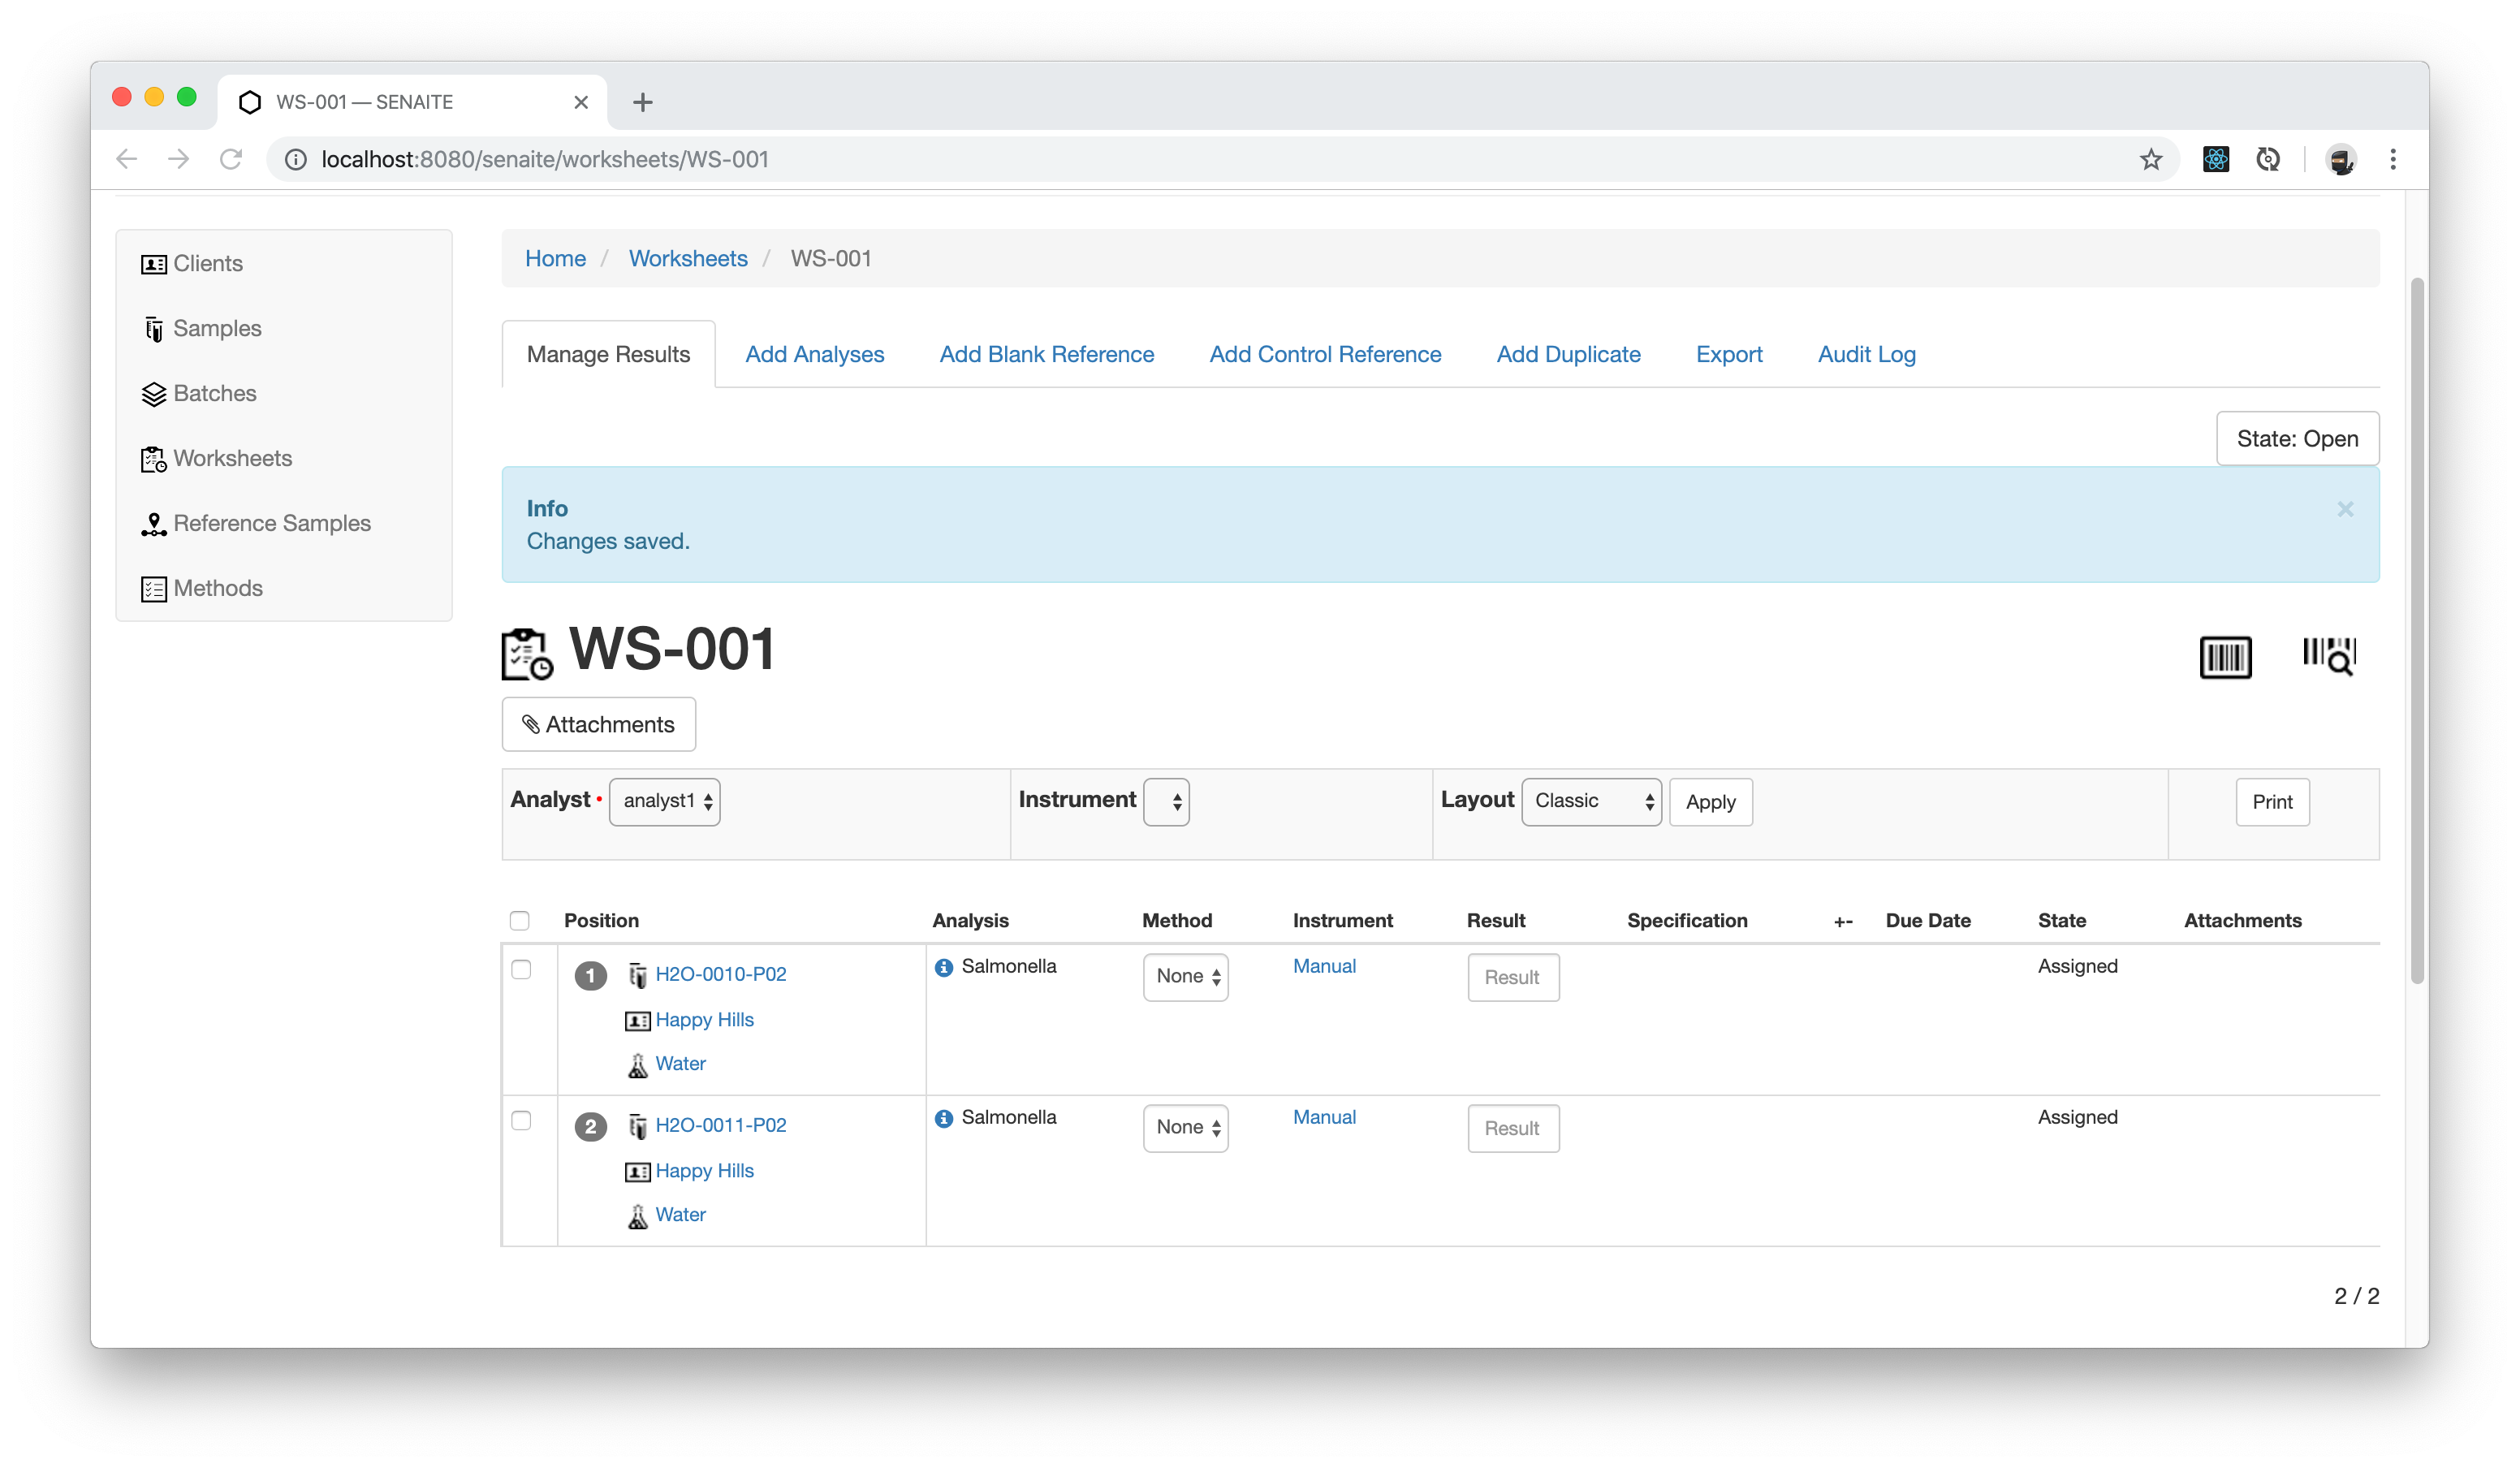
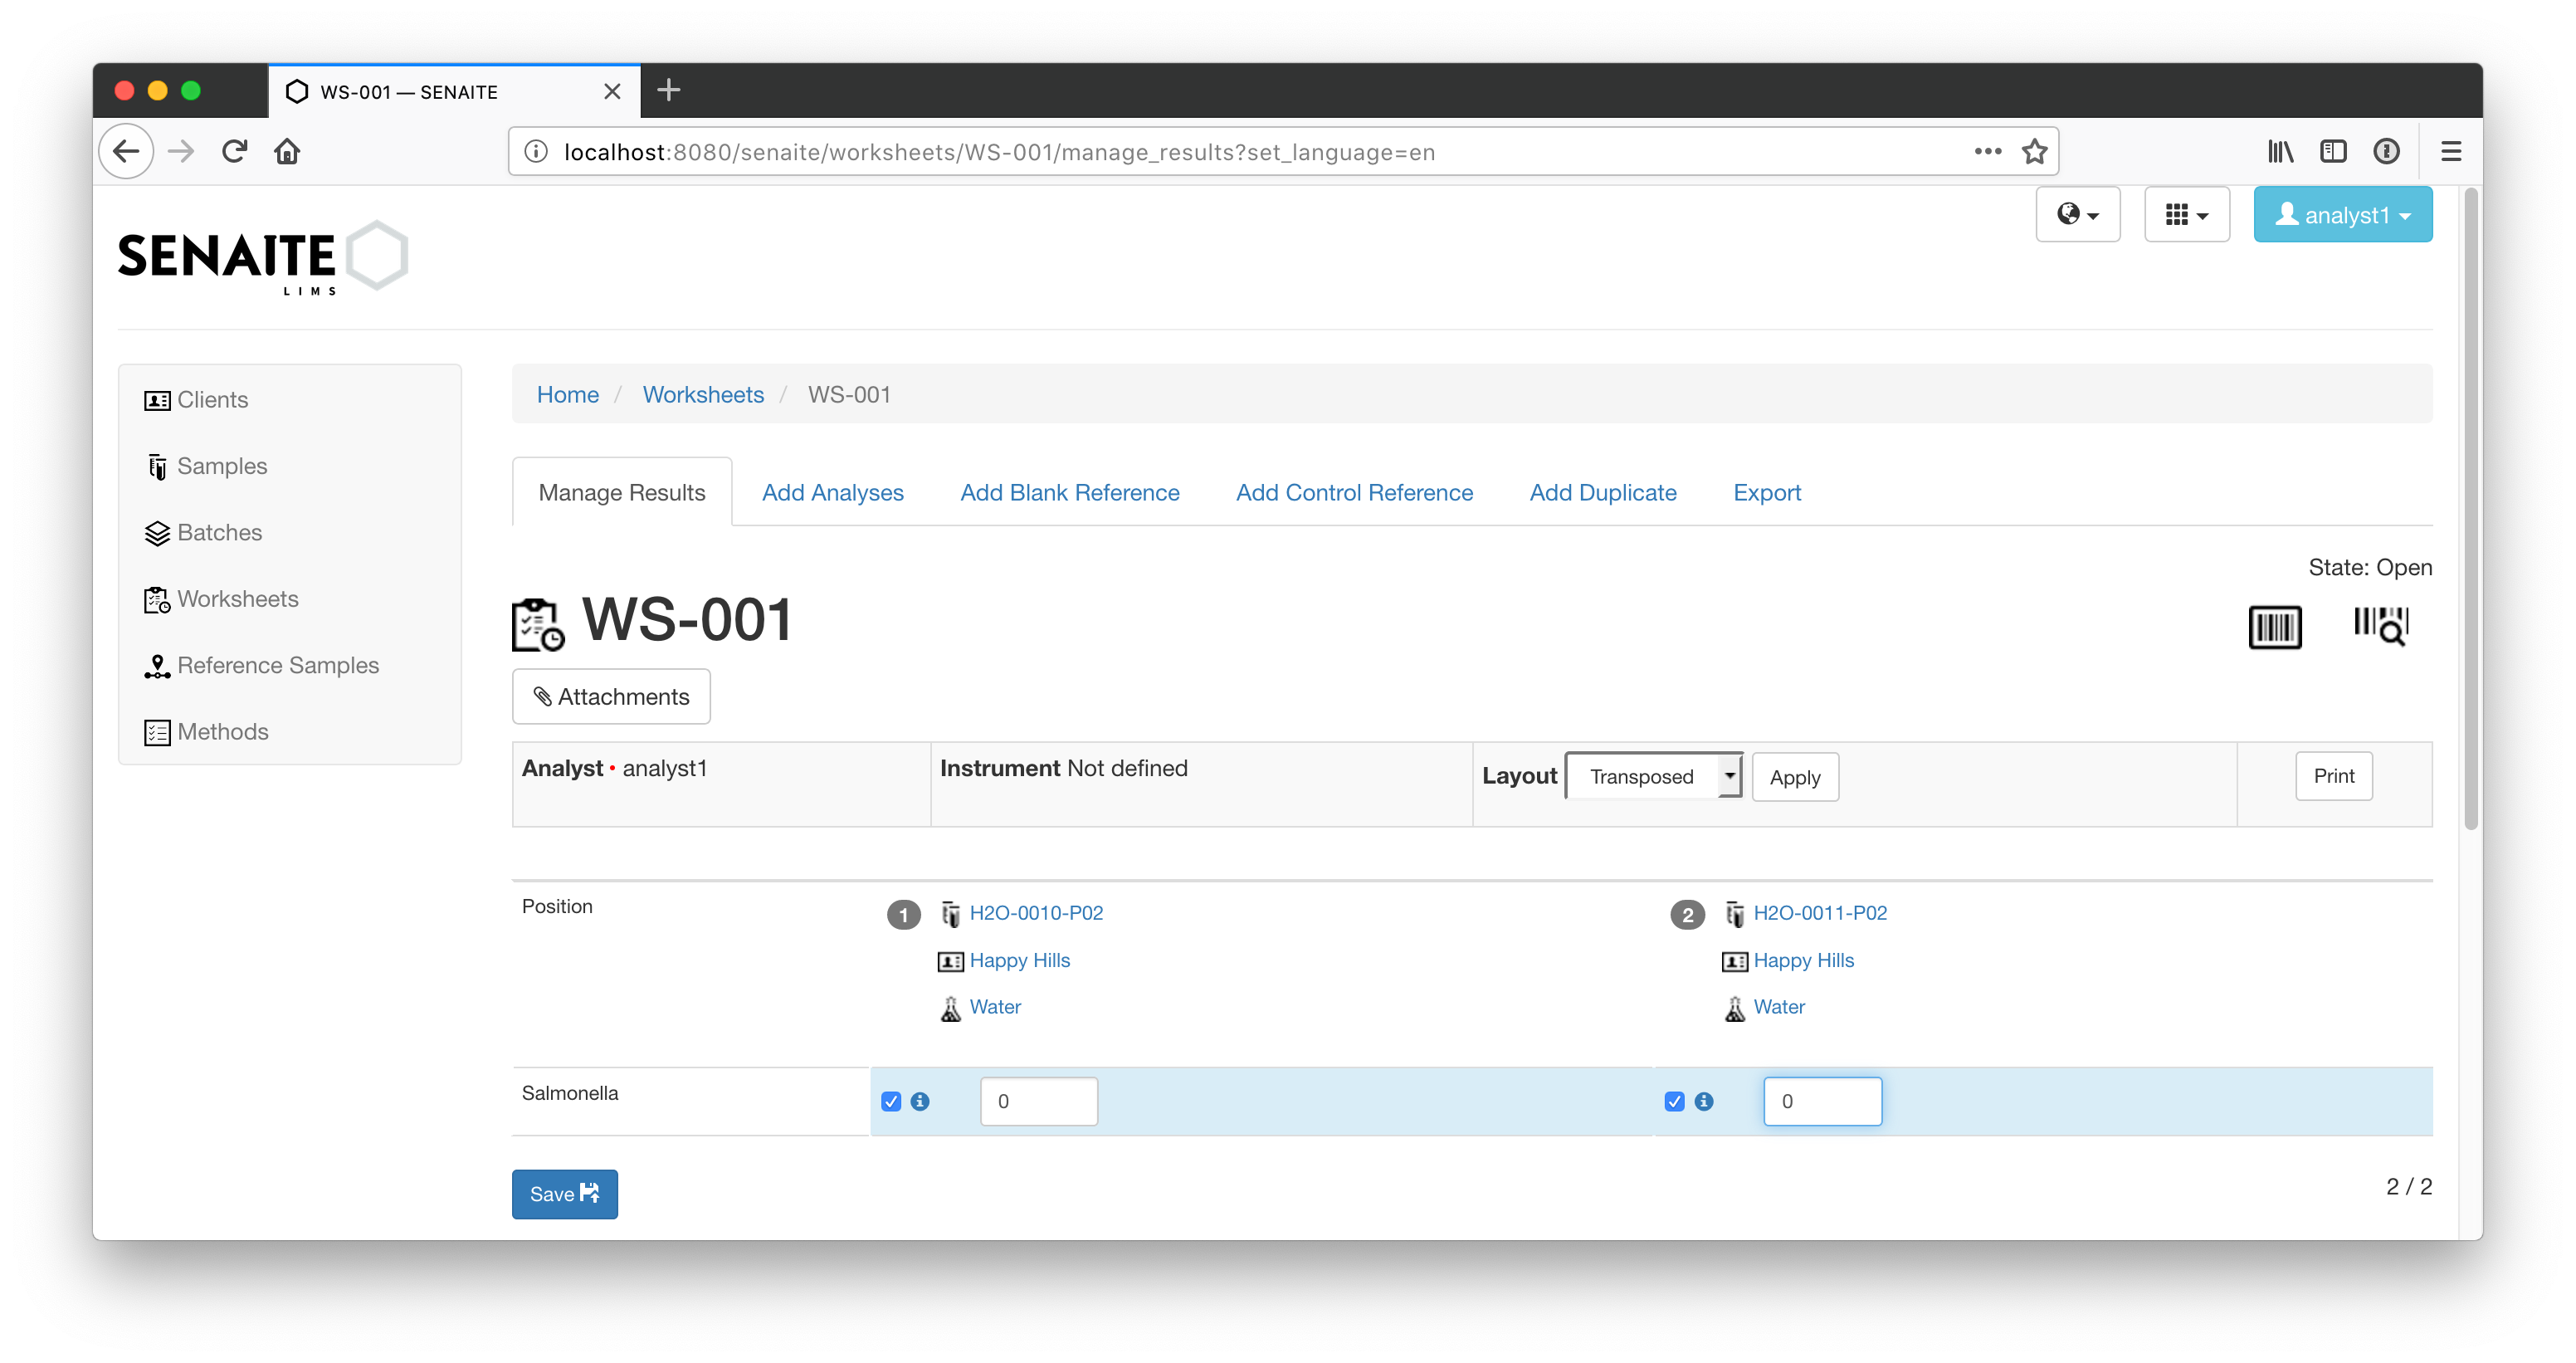
The Worksheet lists now the selected Analyses in a spreadsheet-like table where all results can be added at once.
Changing the layout of a Worksheet
Initially all Worksheets show the Classic, which lists all assigned Analyses by Sample. However, some labs prefer to have the them listed by Analysis, which can be done by changing the Layout to Transposed.
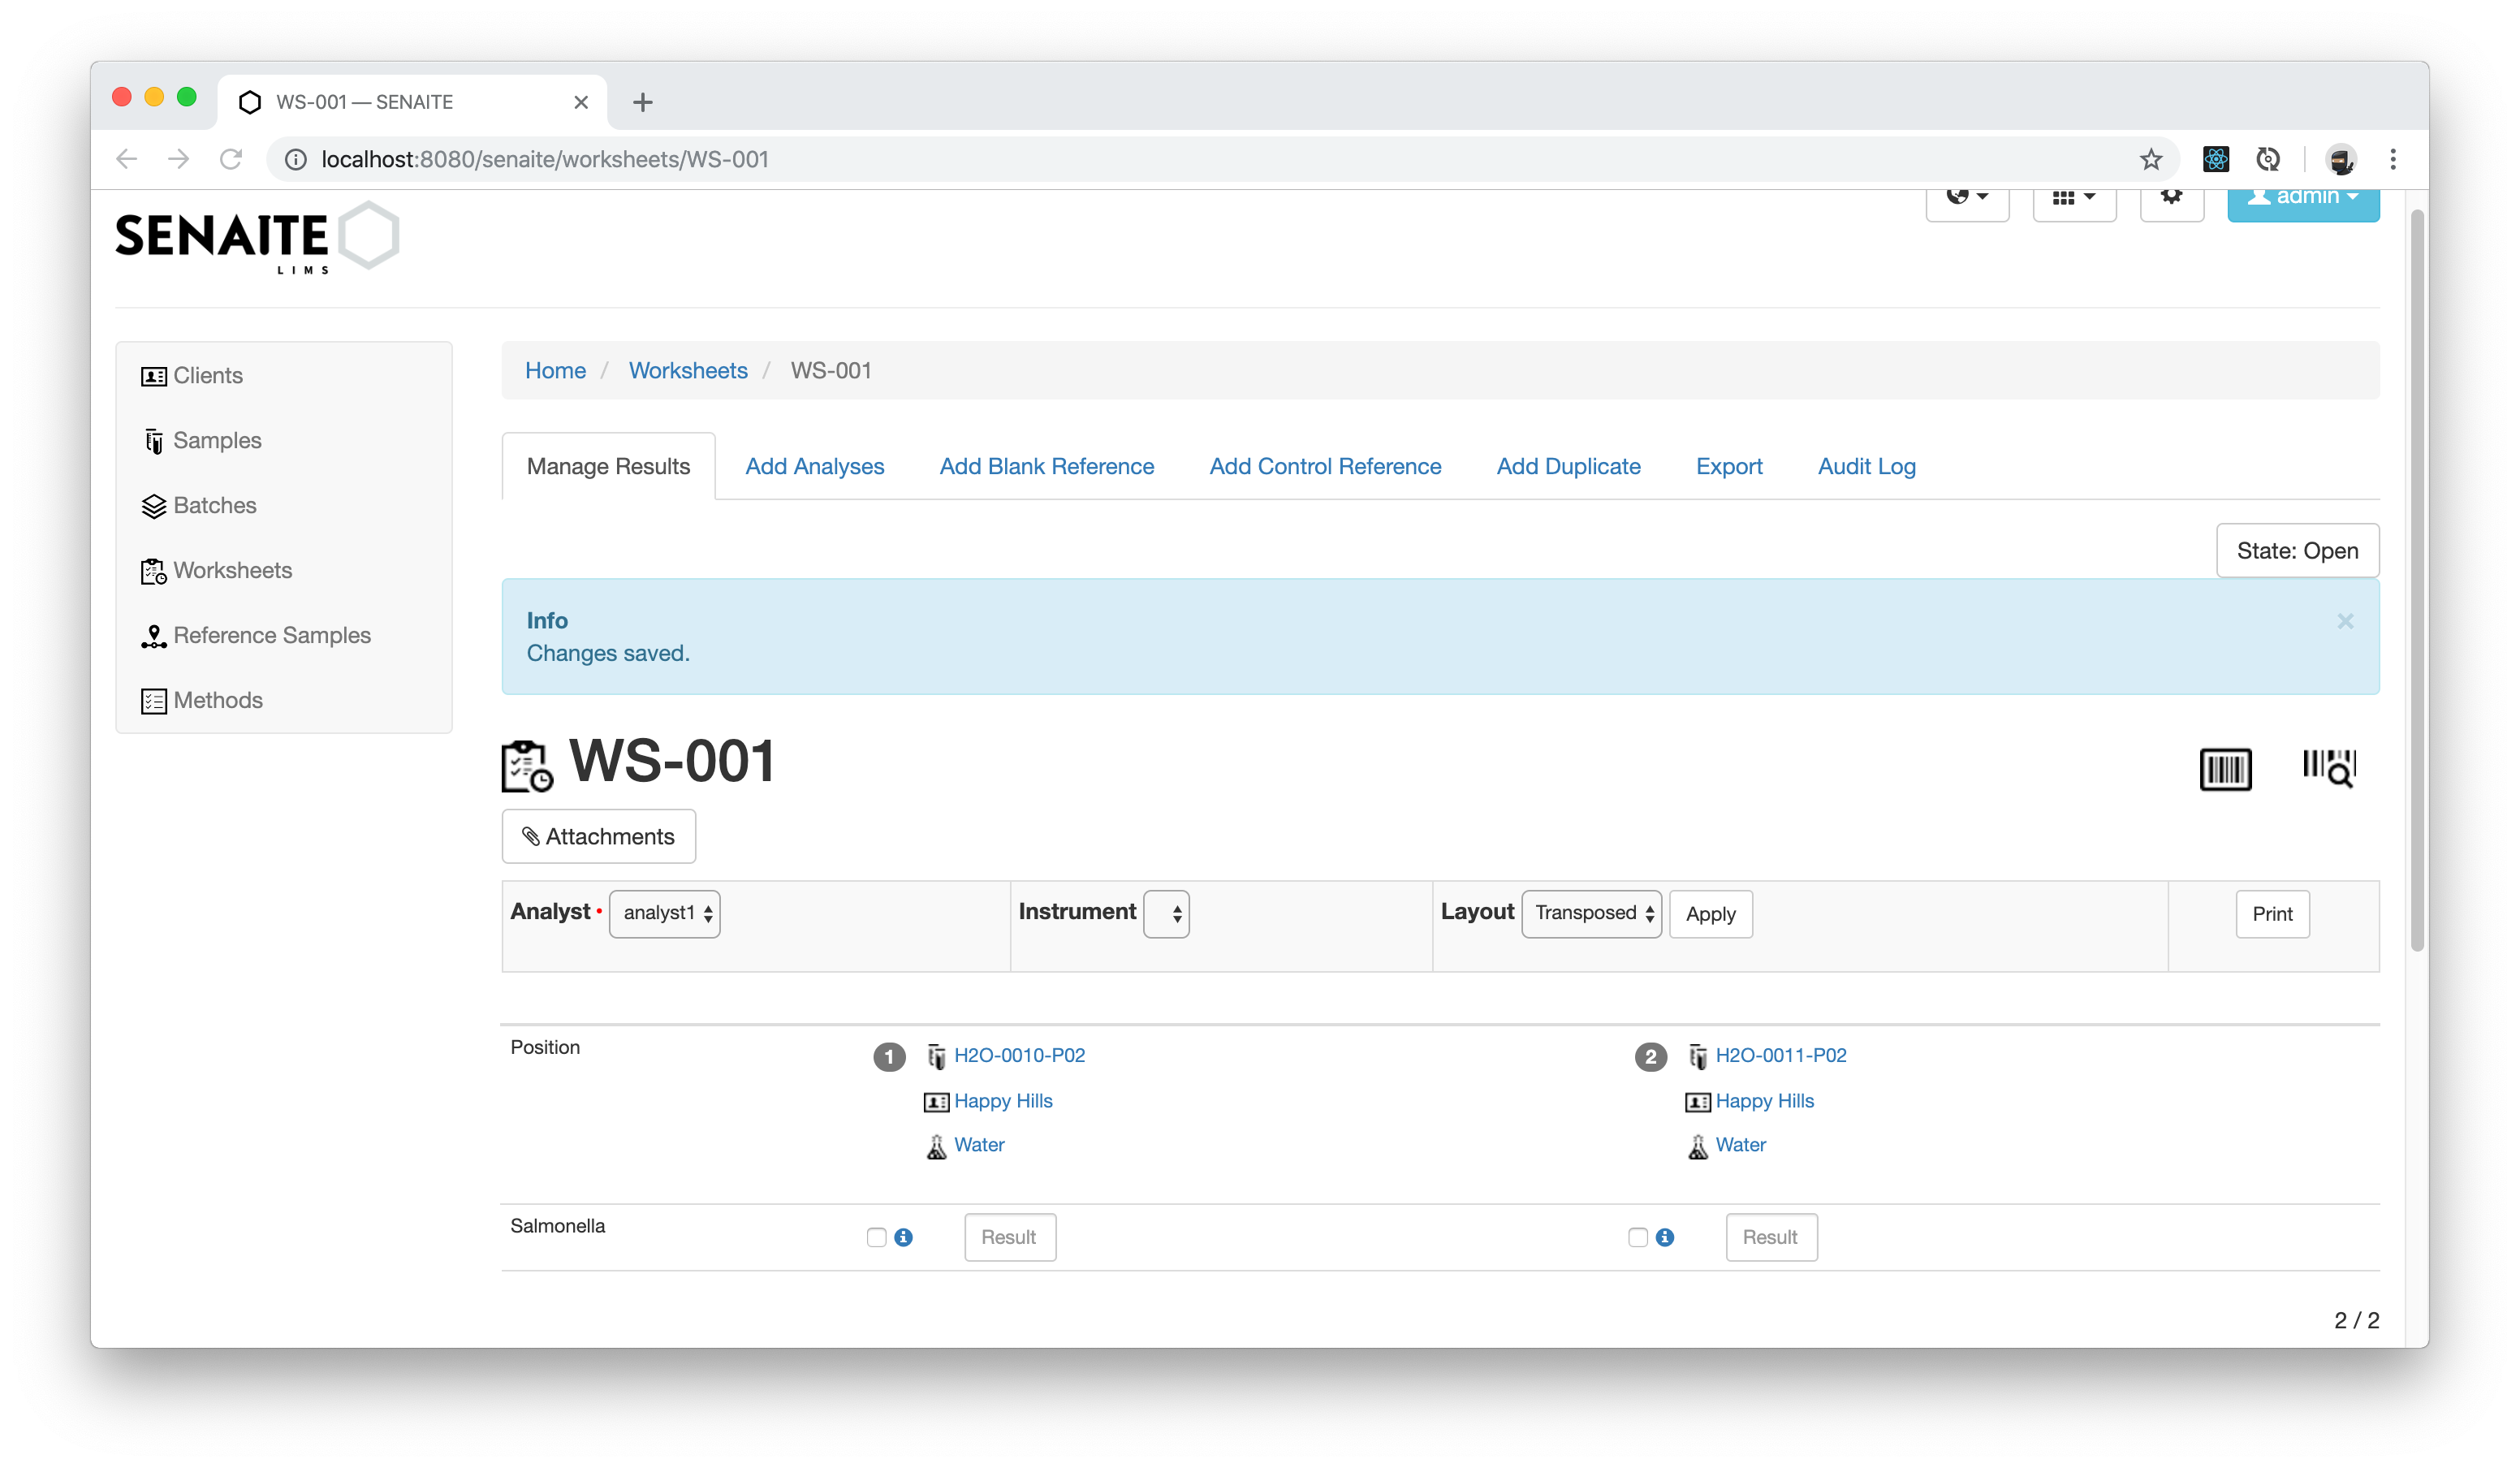
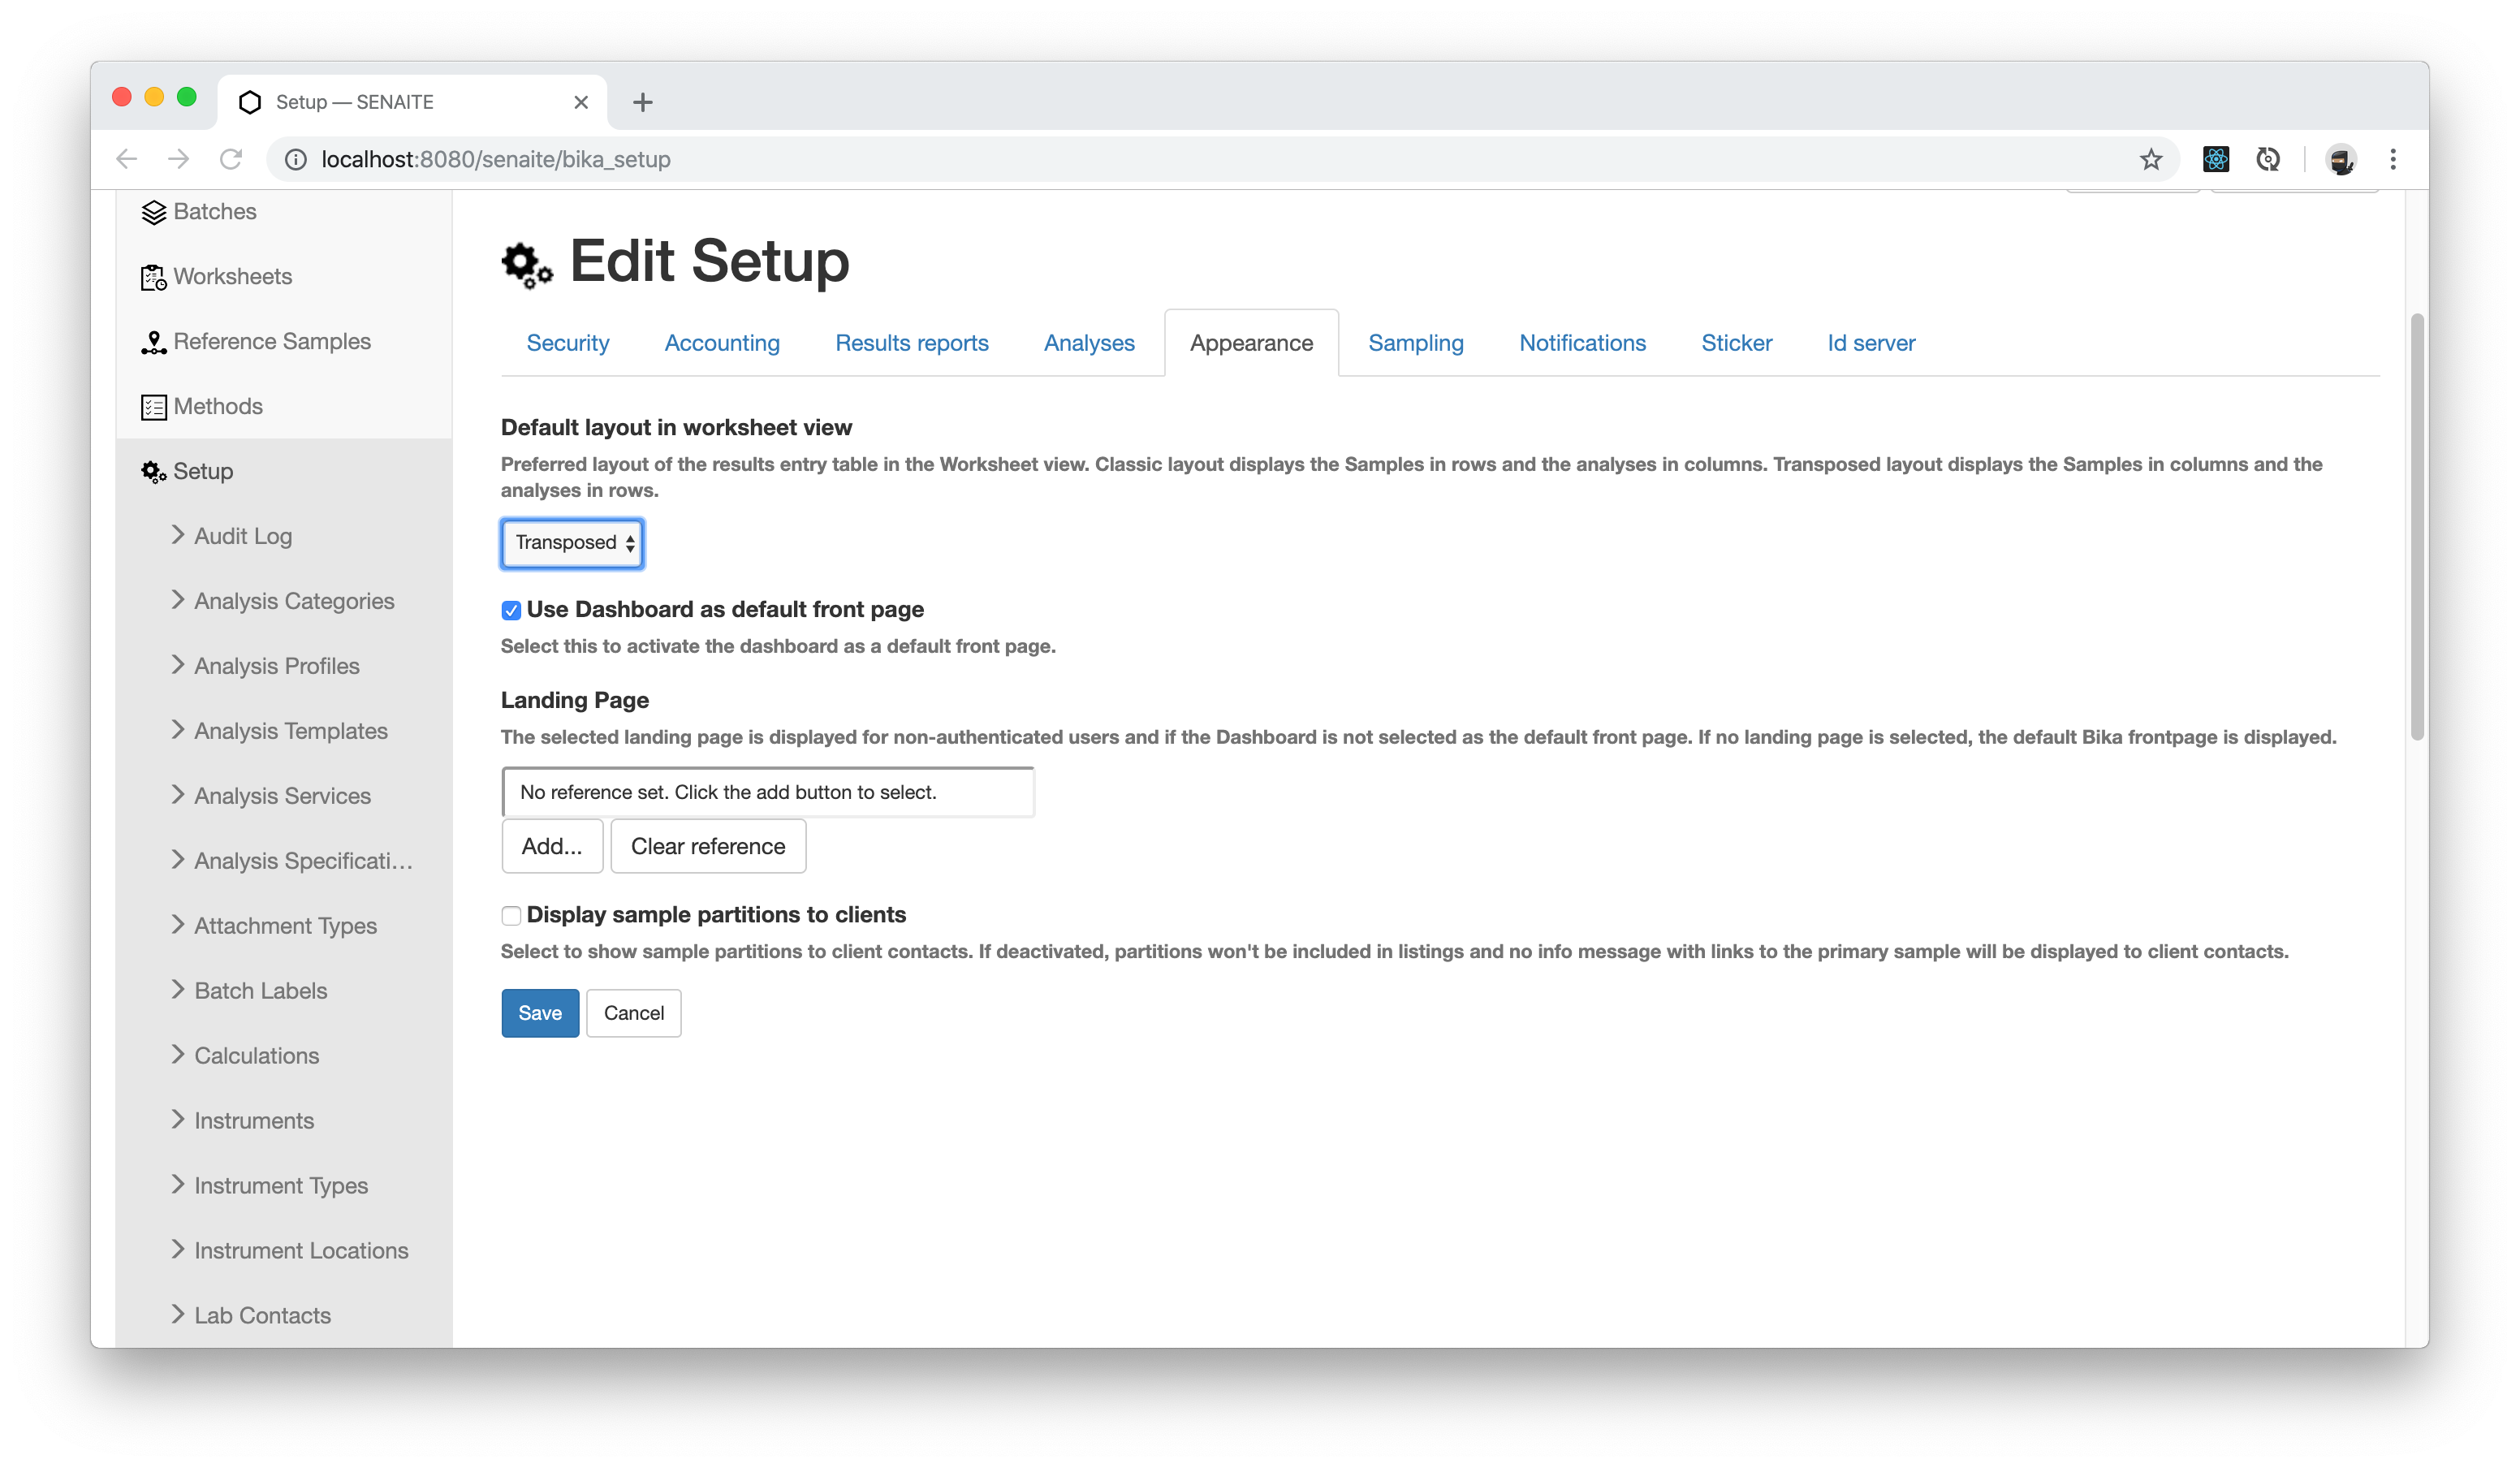
The default layout for Worksheets can also be permanently changed in the LIMS Setup in the section Appearance. Select the preferred layout and save the changes.
Adding Results to a Worksheet
We assigned the Worksheet to our previously created Analyst Lab Analyst 1.
Let's login with this user to introduce results to our Worksheet.
Please logout with the current user or open another Browser to login as
analyst1. Open now the Worksheet and introduce some results.
After the results have been saved and submitted, the Analyst can not do any more changes.
Now login again as Admin (or a user with the role of a Lab Manager) to verify the submitted results.
Congratulations 🙌 you successfully created your first Worksheet in SENAITE and learned how to change the layout.
